
Nicely done sir!!
On the workbench
Started by
healey36
, Apr 06 2016 09:19 AM
261 replies to this topic
#42

healey36
-
- Members
-

- 744 posts
Lt Colonel
- LocationMaryland USA
Posted 24 February 2018 - 08:37 AM
Thanks Ken.
Caught the movie The Long Voyage Home the other night, figured we need SS Glencairn for the table:


Another Figurehead 1/6000 casting, this time one of their medium-sized tramp steamers. It's tough to size Glencairn from the shots in the movie but she looked about average, 3500 tons or so, perhaps on the smaller size. The movie is a 1940 composite of four Eugene O'Neill plays and gives an interesting glimpse of the merchant marine during the early days of the war.
I definitely need to upgrade my printer. Seemed to be losing resolution/print quality when printing these bases.
Healey
#43
healey36
-
- Members
-
- 744 posts
Lt Colonel
- LocationMaryland USA
Posted 20 March 2018 - 02:54 PM
1/2400 CinC IJN DD Kagero. Added a guitar-string mast and an ODGW base.

Somewhat inaccurate in that this is the 1944 post-conversion configuration for the Kagero-class DD's, of which Kagero wasn't included, having been sunk in 1943. The conversion removed one twin five-inch turret and added twenty 25mm AA and four 13.2mm AA in multiple mounts, and doubled the number of depth charges carried. The pair of four-tube torpedo mounts remained. The foremast should be a tripod configuration, but who can make one of those in 1/2400? Okay, there's a throw-down to somebody out there, lol. There should also be a shorter mainmast just in front of the rear AA mounts, which I've omitted.
Healey
- Tu Tran likes this
#44
healey36
-
- Members
-
- 744 posts
Lt Colonel
- LocationMaryland USA
Posted 10 June 2018 - 05:38 AM
IJN BB Mutsu in her final form:

Nagato-class Mutsu was destroyed by a magazine explosion in June 1943, attributed to sabotage by one of her crew.
Painted by Matt Schreck of Old Army Painters...whittling down the lead-pile.
Healey
#45
healey36
-
- Members
-
- 744 posts
Lt Colonel
- LocationMaryland USA
Posted 09 October 2018 - 04:06 PM
An IJN Akizuki-class destroyer:

1/2400 GHQ on an ODGW etched base, painted by Matt Schreck. What GHQ refers to as the Suzutsuki-class.
Matt paints using a semi-gloss finish, leaves 'em looking a bit wet.
Healey
#46
RazorMind
-

- Members
-

- 82 posts
Corporal
- LocationGeorgetown, TX
Posted 18 October 2018 - 08:38 PM
nice work Healy36
"I wish to have no Connection with any Ship that does not Sail fast for I intend to go in harm's way.
Capt. John Paul Jones
Capt. John Paul Jones
#47
healey36
-
- Members
-
- 744 posts
Lt Colonel
- LocationMaryland USA
Posted 23 January 2019 - 12:27 PM
Been spending an inordinate amount of time on non-hobby projects of late...still, a few things have found their way onto the work-bench.
Found this 1/144-scale World Tank Museum kit in one of the cabinets in my office. Prepainted, well-engineered, it doesn't take much effort to finish off one of these:

A PzJg IV/70, I added a few decals from the bit box, gave it a wash with some heavily diluted Vallejo tinting ink, then an over-spray of clear matte. An hour or so and it's ready for the table.
Healey
#48
healey36
-
- Members
-
- 744 posts
Lt Colonel
- LocationMaryland USA
Posted 28 January 2019 - 06:09 PM
HMS Formidable in 1/2400:


Another WTJ 3D print, guitar string masts with tops added, on an ODGW etched base. ModelMaster dark gray, Tamiya desert yellow, Vallejo off white, and Vallejo flesh tinting ink, topped with an overspray of ModelMaster clear matte.
Still searching for the ideal deck color.
Healey
#49
healey36
-
- Members
-
- 744 posts
Lt Colonel
- LocationMaryland USA
Posted 19 February 2019 - 08:06 AM
Another 1/144-scale World Tank Museum kit, this time a Tiger II in supposed shadow/ambush scheme:

Added a pair of number decals, overspray of matte lacquer.
Healey
#50
healey36
-
- Members
-
- 744 posts
Lt Colonel
- LocationMaryland USA
Posted 23 February 2019 - 05:35 PM
Any one have a resource disclosing the deck colors for WWI RN light cruisers? Did these have teak, linoleum, or painted steel deck treatments?
I saw a pic of some guy's 1/1250 late war C-class, which he portrays as teak main deck with linoleum uppers. I'm wondering if this is accurate, or did it vary with each class?
Thanks for any info...
Healey
Edit :: A query sent to friends in Annapolis received a reply that RN CL main decks were teak. Use of linoleum on upper decks unconfirmed.
#51
healey36
-
- Members
-
- 744 posts
Lt Colonel
- LocationMaryland USA
Posted 03 March 2019 - 03:09 PM
Recent production moving across the workbench:

All 1/2400, CinC and WTJ.
- Tu Tran likes this
#52
healey36
-
- Members
-
- 744 posts
Lt Colonel
- LocationMaryland USA
Posted 01 May 2019 - 08:33 AM
SMS Stettin, to my mind the best looking class of ship in the German Navy (love the offset in the funnel configuration):

A War Times Journal 3D-print with guitar-string masts added, along with a WTJ top. A bit of acrylic paint and an ODGW base and she's ready for action.
Healey
#53
Mark 1
-

- Members
-

- 117 posts
Sergeant
- LocationSF Bay Area
Posted 16 May 2019 - 09:44 PM
Here is a look at recent 6mm figures from my workbench.
After many years it is time to finally retire the last of my 1/285 CinC infantry. I've not really been a fan of their figures since the early 1990s, when I discovered H&R 1/300 infantry figures.
This US Infantry has been in my "to be done" pile for over mumble-mumble years. But hey,I've finally gotten to them! So ...
My general approach: I clip the figures apart (sometimes leaving some of the figures together when I find it convenient to ultimately mount them together. I glue them down to coffee-house stirring sticks for painting.
Then they are spray primed white using Krylon (automotive) primer.
Then the cast-on bases are painted a standard "dirt" color. For this I just use a craft store acrylic paint that is cheap and readily available. The color I use currently is called "mushroom", but just looks enough like dirt for my purposes.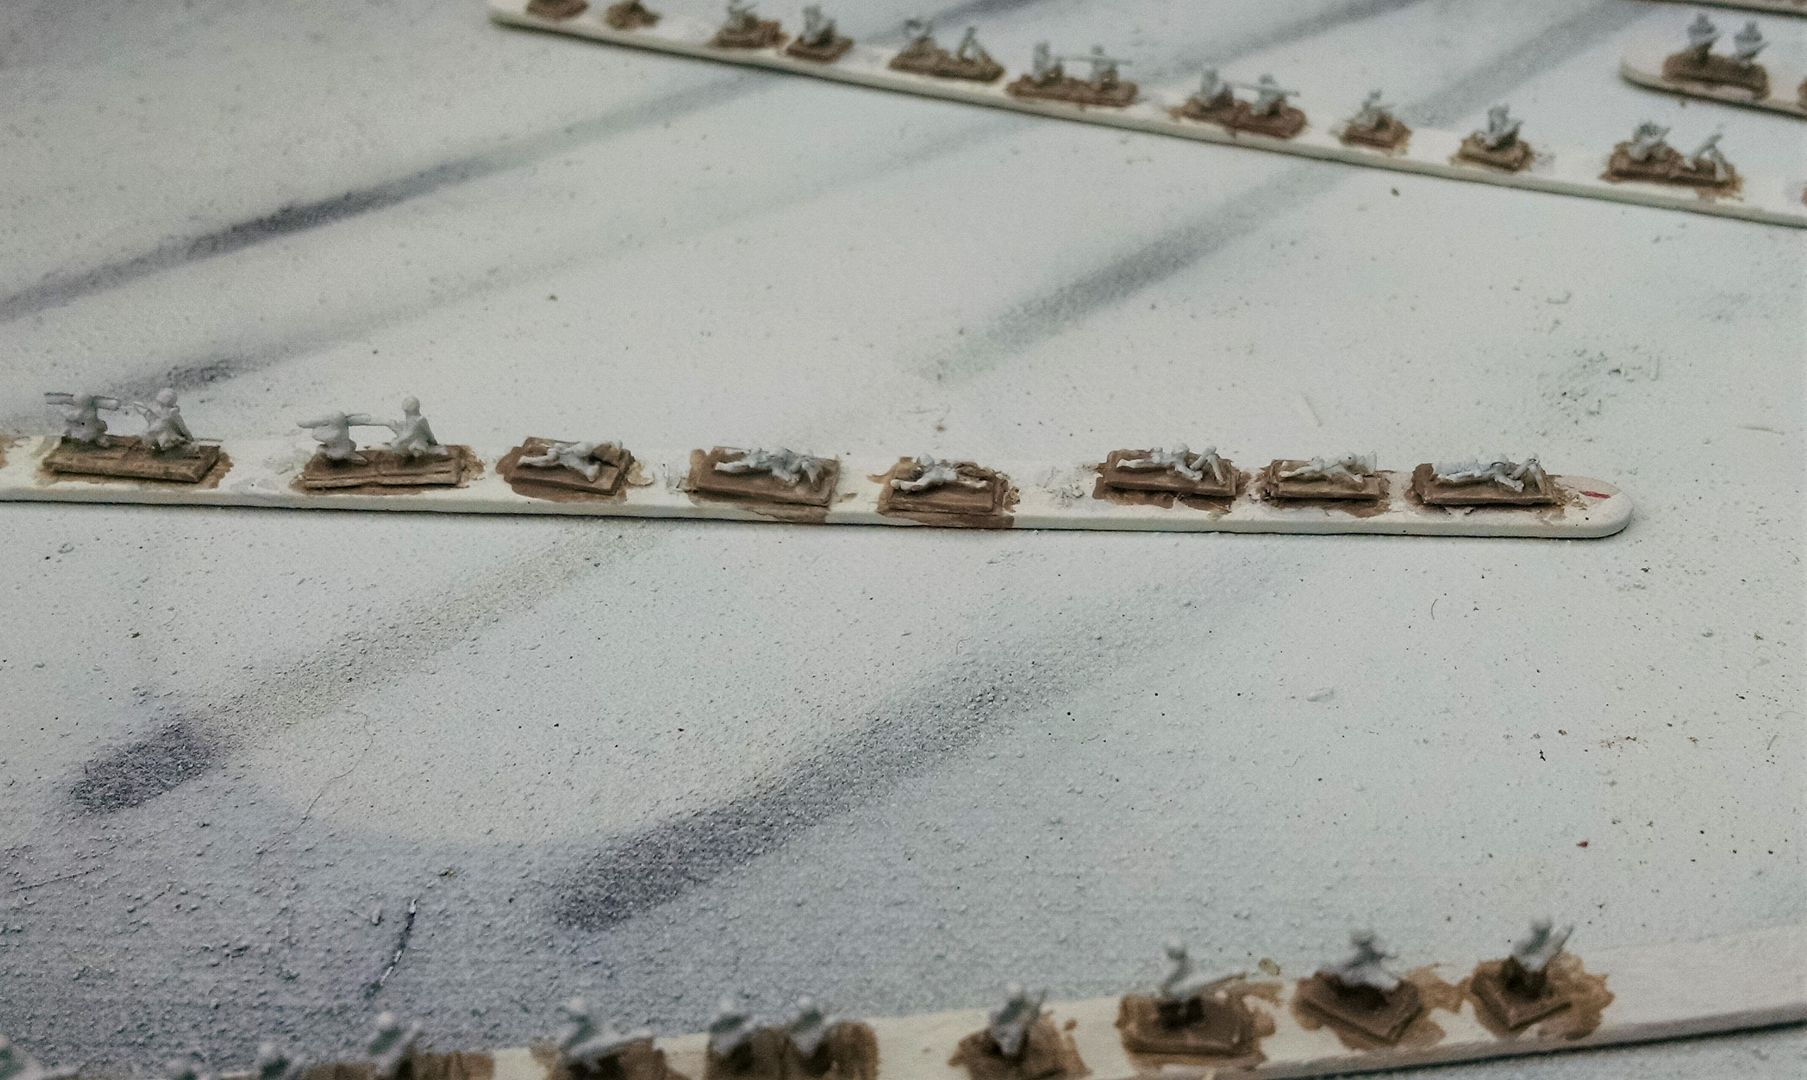
Here are figures on their sticks, primed, with their bases painted. No need to worry too much about getting a bit of paint on the figures, but it's important to cover the whole cast-on base, as otherwise the white will show through clearly.
I then paint up the figures, building the colors in layers as I go. For the US infantry I painted the pants a different color than the jackets. Usually as soon as I have the base uniform colors in place I'll do a dark wash, then proceed with the detailing.
Here are some fully-painted figures still on their stick. The lighting didn't quite work out for me here, so you'll have to refer to later pics to get a real impression of how the figures are painted.
I'm also showing some of the stands I'm going to mount them on: US Pennies. I give them all a base coat of the same acrylic craft paint I use for the molded-on figure bases.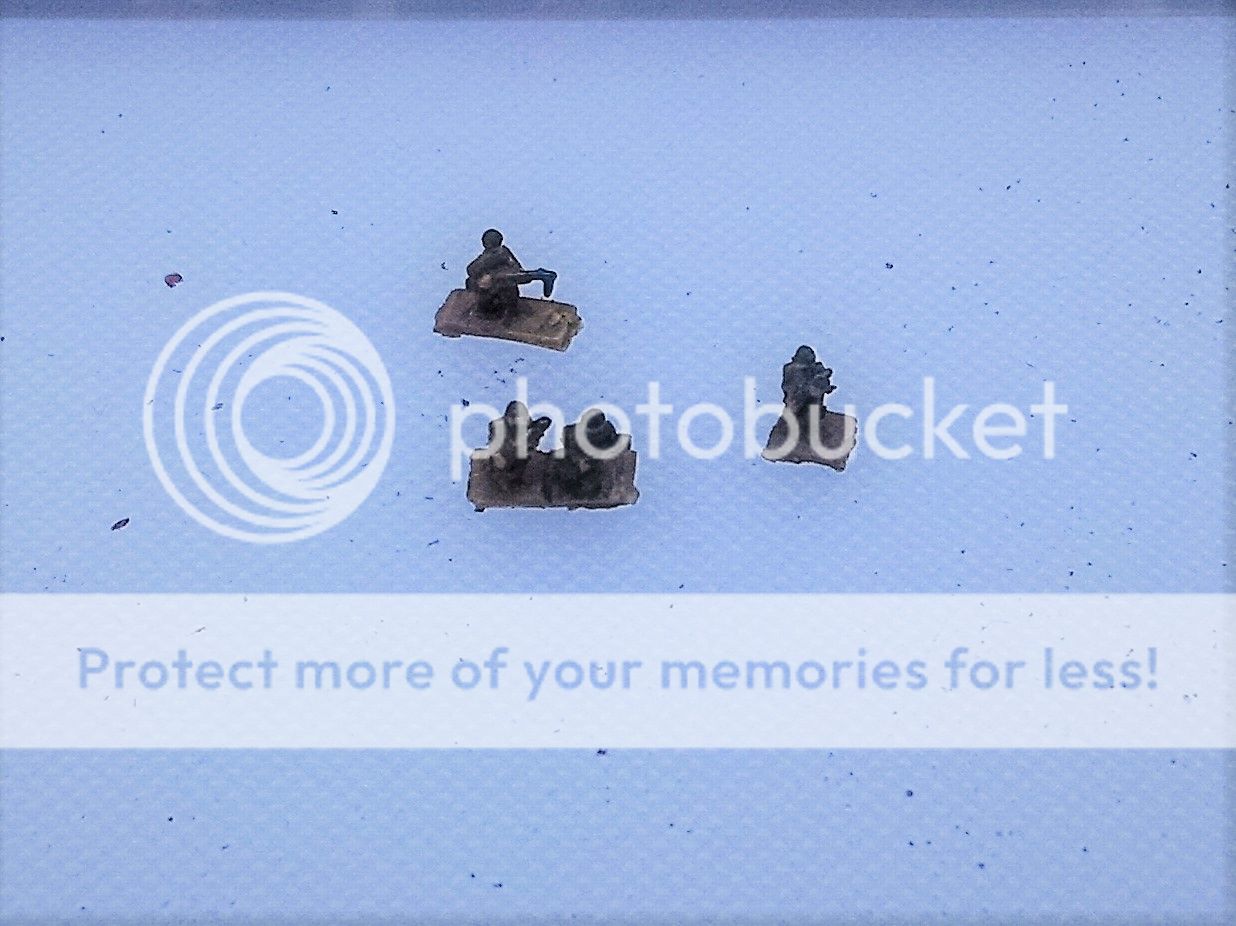
Here are some of the painted figures, off of their sticks, ready to mount up. Again, sorry about the lighting. These pics were taken in direct sunlight, and my phone's camera just can't keep any of the color in the image at this level of brightness.
Up to now I have used the number of figures to distinguish the type of unit. 4 figures = full sized regular squad. 3 figures = full sized "special purpose" squad. 2 figures = team sized unit.
That's how I now roll 'em. So next post, for those who do not flee fast enough, is the results.
-Mark
(aka: Mk 1)
_________________
Mark 1
Mark 1
#54
Mark 1
-
- Members
-
- 117 posts
Sergeant
- LocationSF Bay Area
Posted 16 May 2019 - 09:44 PM
Here's how they came out.
The rifle squads show 3 riflemen and a BAR man.
Each infantry platoon has 3 squads, and a 2 man command team. The H&R infantry packs are actually constructed for 1-to-1 unit scales, so for each 8 infantry figures you get a combat leader figure (waving the troops forward). I don't use these figures for squad leaders, but rather for platoon leaders and other officers.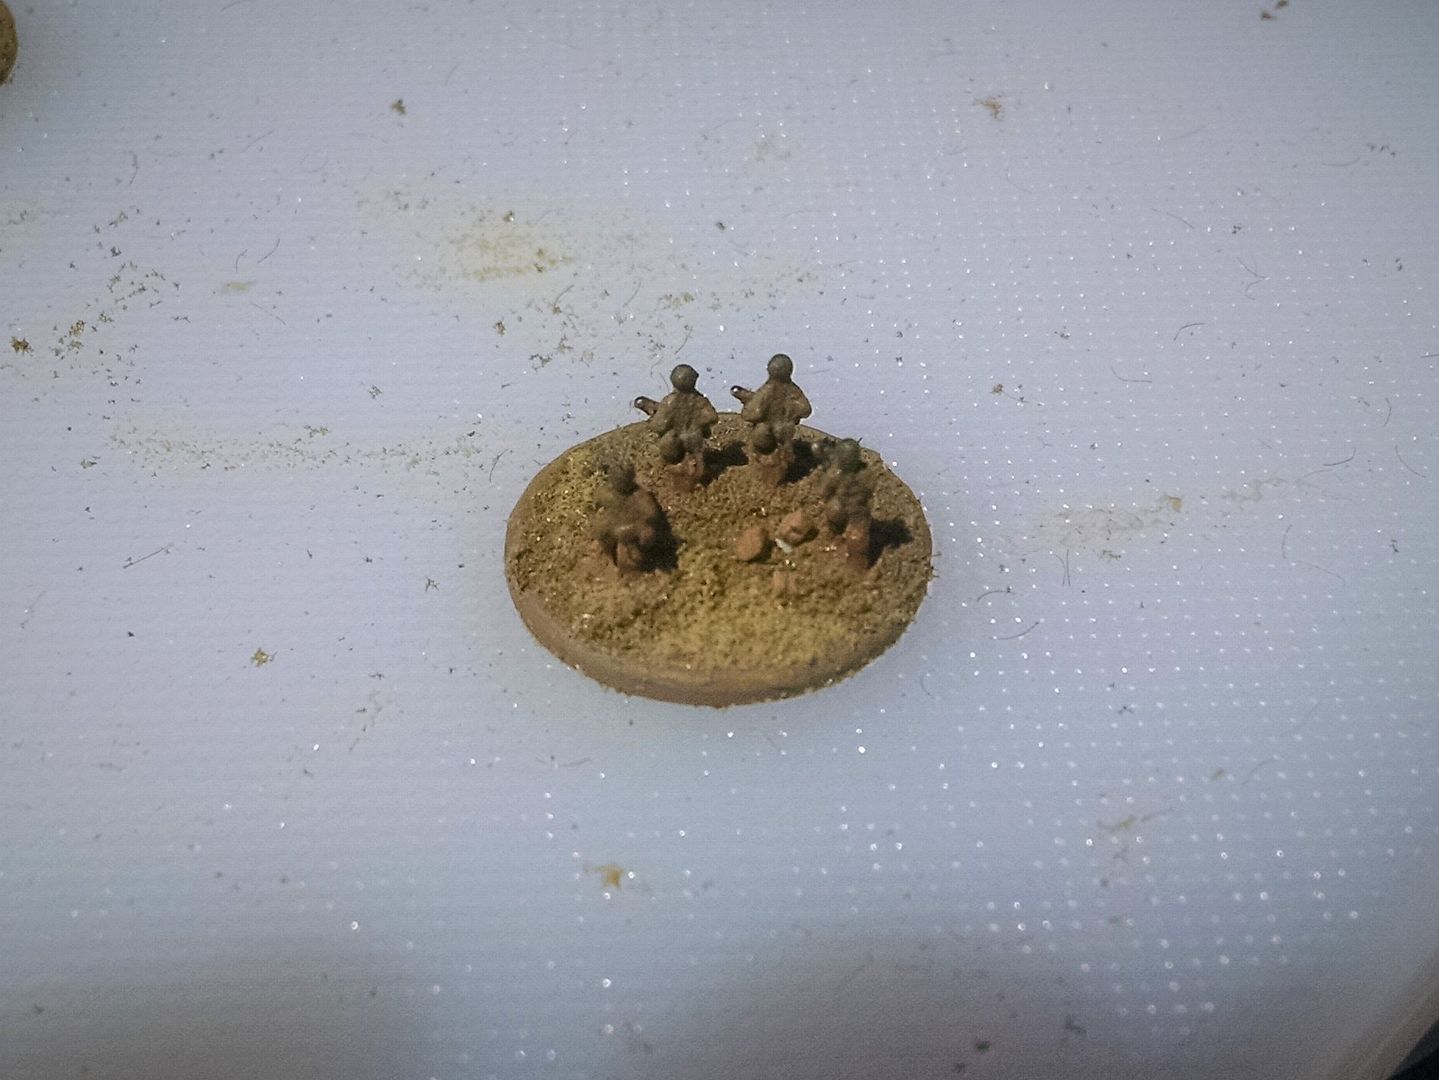
Here is a rifle squad from the back. I use Acrylic Gel Medium, tinted with my dirt-color paint, to provide both the ground on the stand and the adhesion for the figures and the flocking, etc. Put a glob of gel on the penny, spread it around, put the figures in it, do a bit of work around the edges to ensure the gel flows over a bit onto the top of the figures cast-on base, then some model RR shrubs and talus, a little static grass, a little flocking, and on to the next one.
Once dry they are dull coated, left to dry, and dull coated again. Helps them last a bit longer.
I was working primarily for a "Mediterranean" look, but not something that looked so much like a desert that it would stand-out on an ETO board. I like the results I've got here.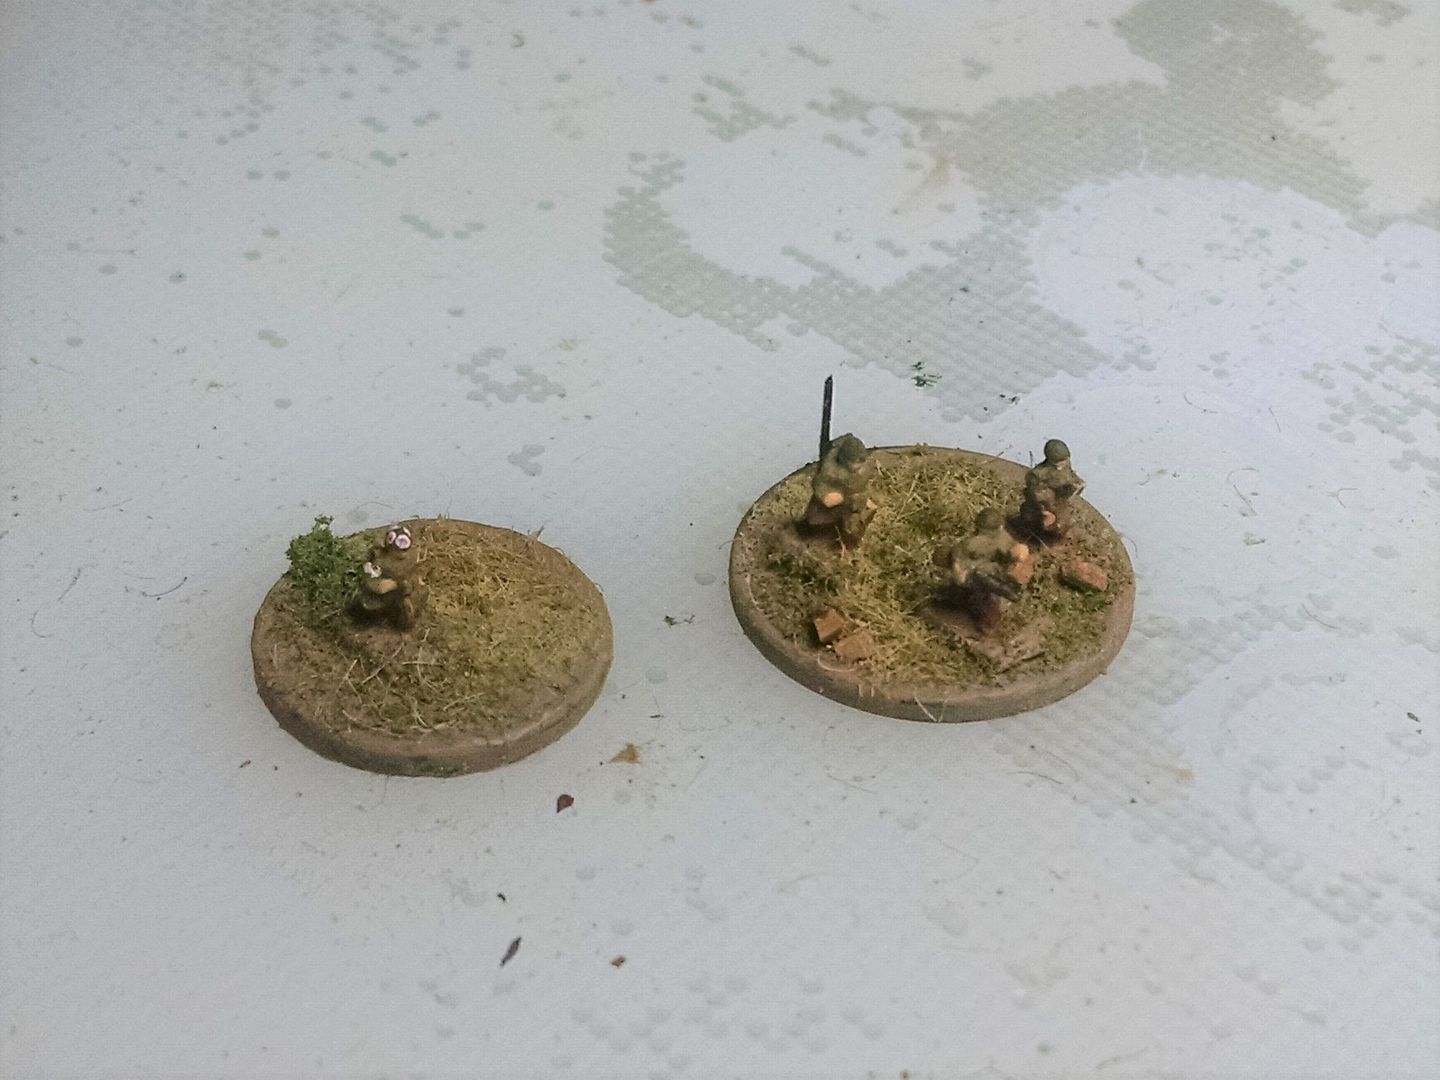
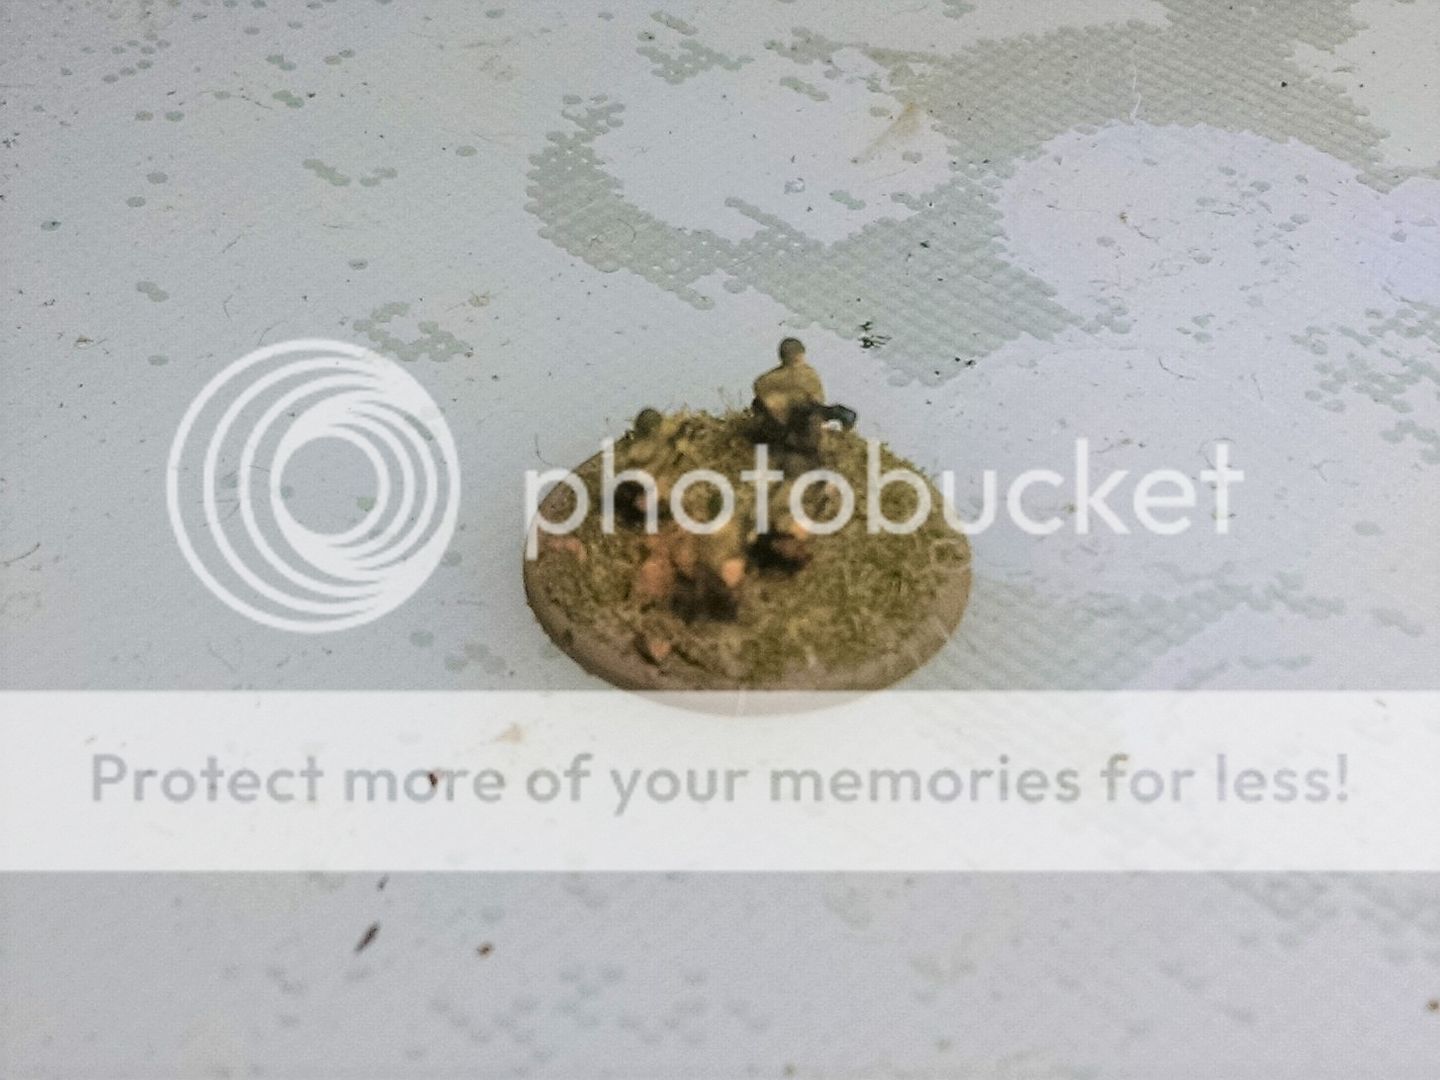
Here is my company HQ squad. 3 men on a stand = full sized squad, but not a standard rifle squad. The radio-man helps me identify it as my HQ, as does a low-vis striping on the back of the stand. 2 stripes = company command. 3 = platoon command. 1 = battalion / battlegroup command. The stripes are brown, on the dirt base -- not at all obvious unless you are looking for them, but if you are they are fully visible.
I also created 3 medics for my US infantry. I use the figures carrying MG ammo boxes -- I'm not sure BAR #2s carried ammo into battle that way. So I clipped off their rifles and painted them up as medics, including painting their ammo boxes as medical kits. I sometimes use medics to add complexity to my gaming scenarios, giving players some victory points (or reducing their loss of victory points) for performing "rescues" of damaged or lost squads.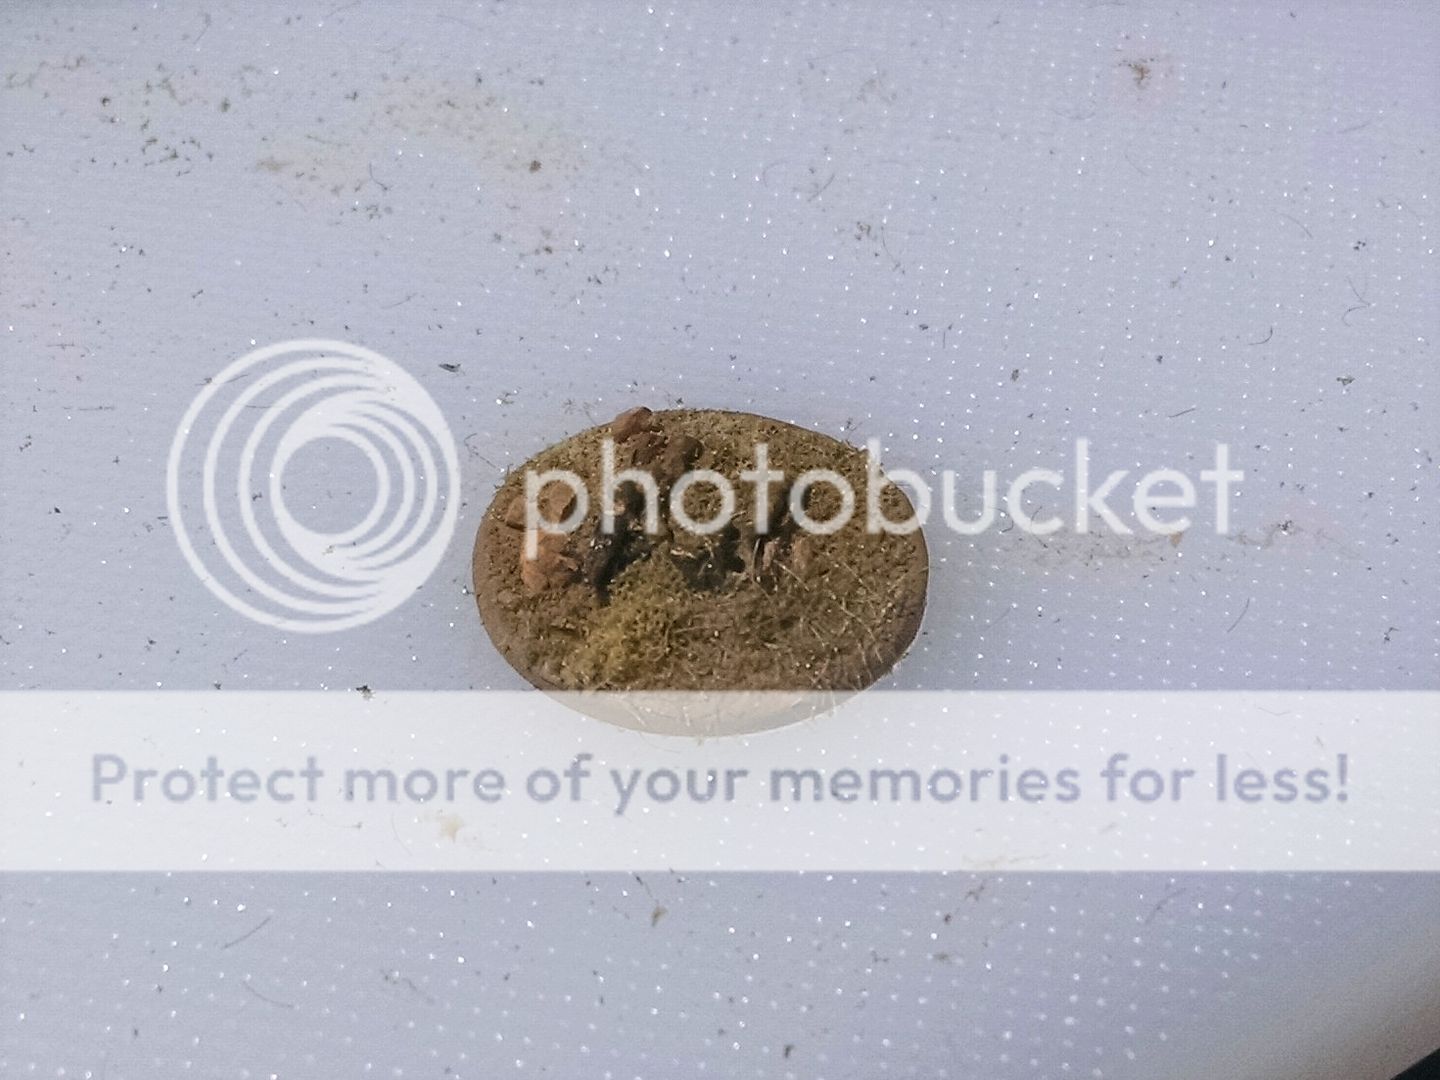
Here is an MG team from the company's weapons platoon.
The H&R figures are not the most detailed. But they are robust and rugged for gaming, and honestly you just can't beat the variety of figures they give you in the packs! Who else does a prone M1919A3 team in this scale? 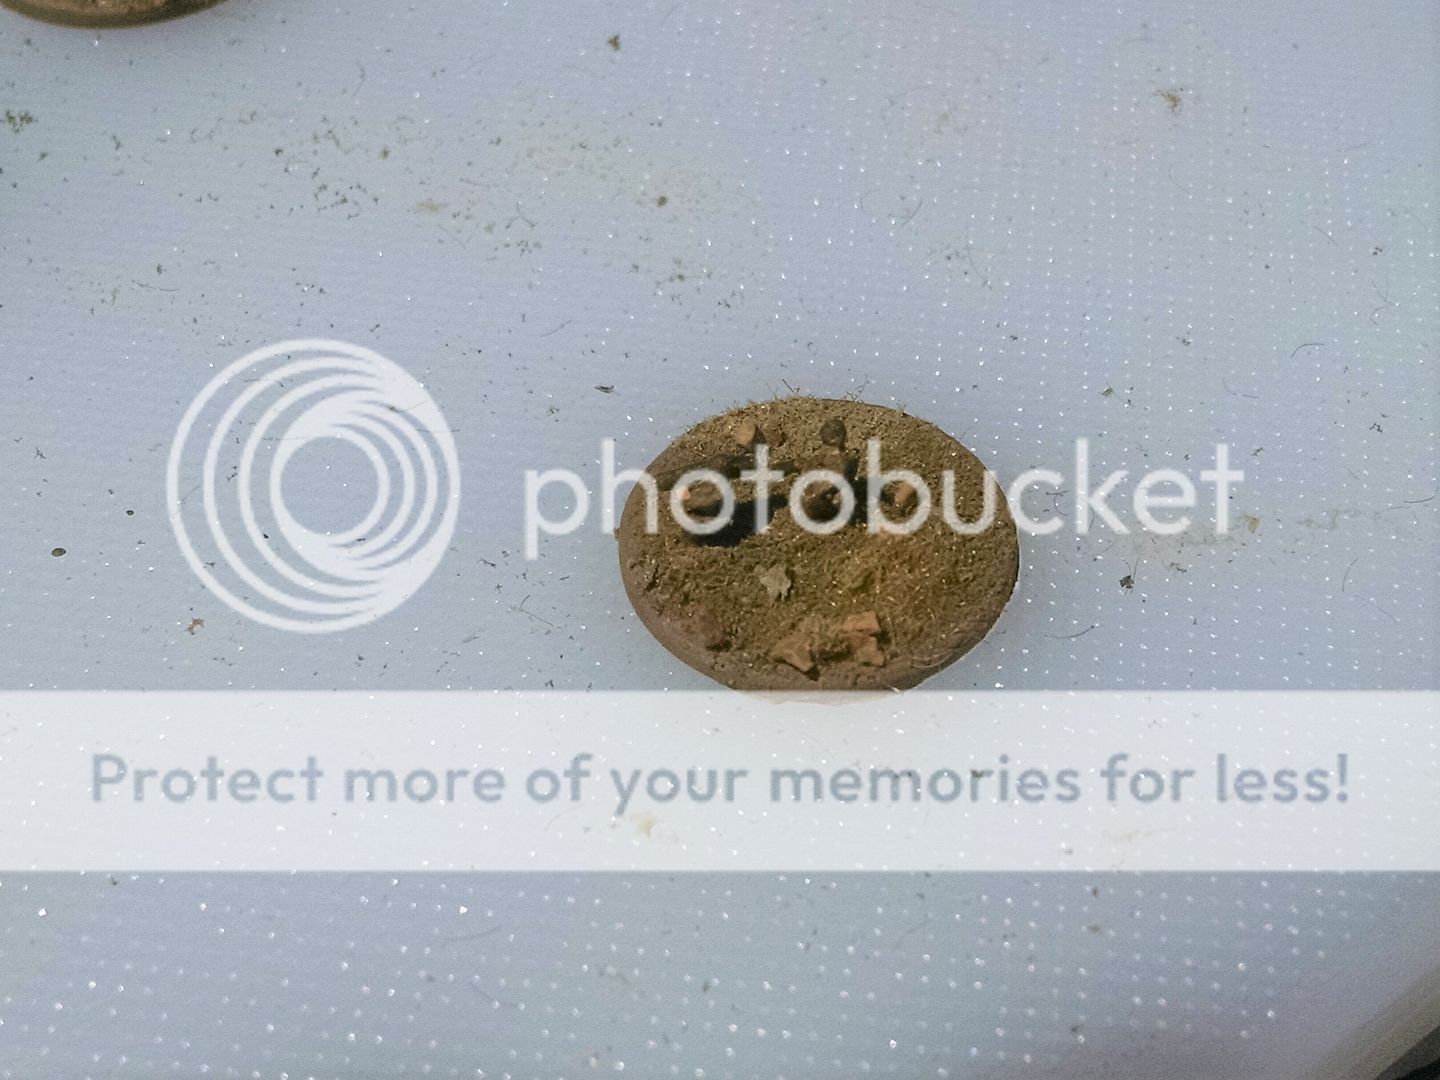
Here is a bazooka team.
The company weapons platoon has 2 M1919 MG teams, 1 M2 .50cal HMG team, 3 60mm mortar teams, 3 bazooka teams, and a command team. I can split these support resources up or keep them together as I chose from one game to another, just as actual US Army infantry companies did.
I also have some battalion support resoources (not shown), including 81mmm mortars, MOP team, and .50cal M2 HMGs on AA mounts. Who else by H&R gives you those? 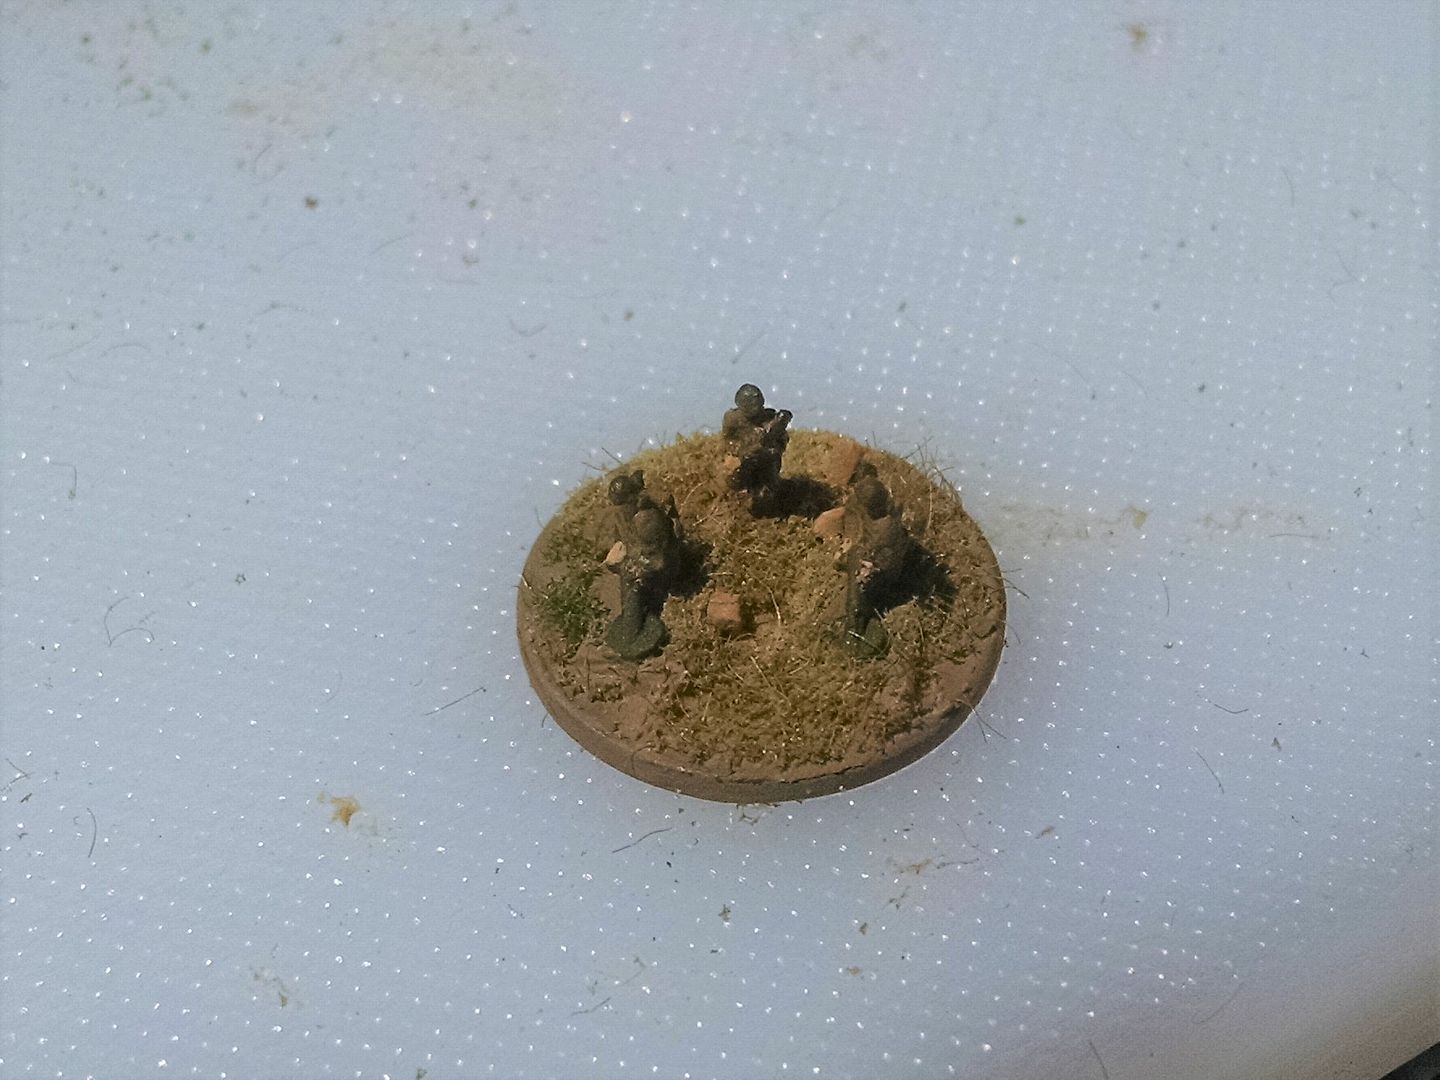
Here are some more interesting figures in the H&R infantry packs -- mine detectors! 3 men to a stand tells me this is a full-sized special purpose squad, then the figures themselves are a mine-clearance team in my engineering platoon.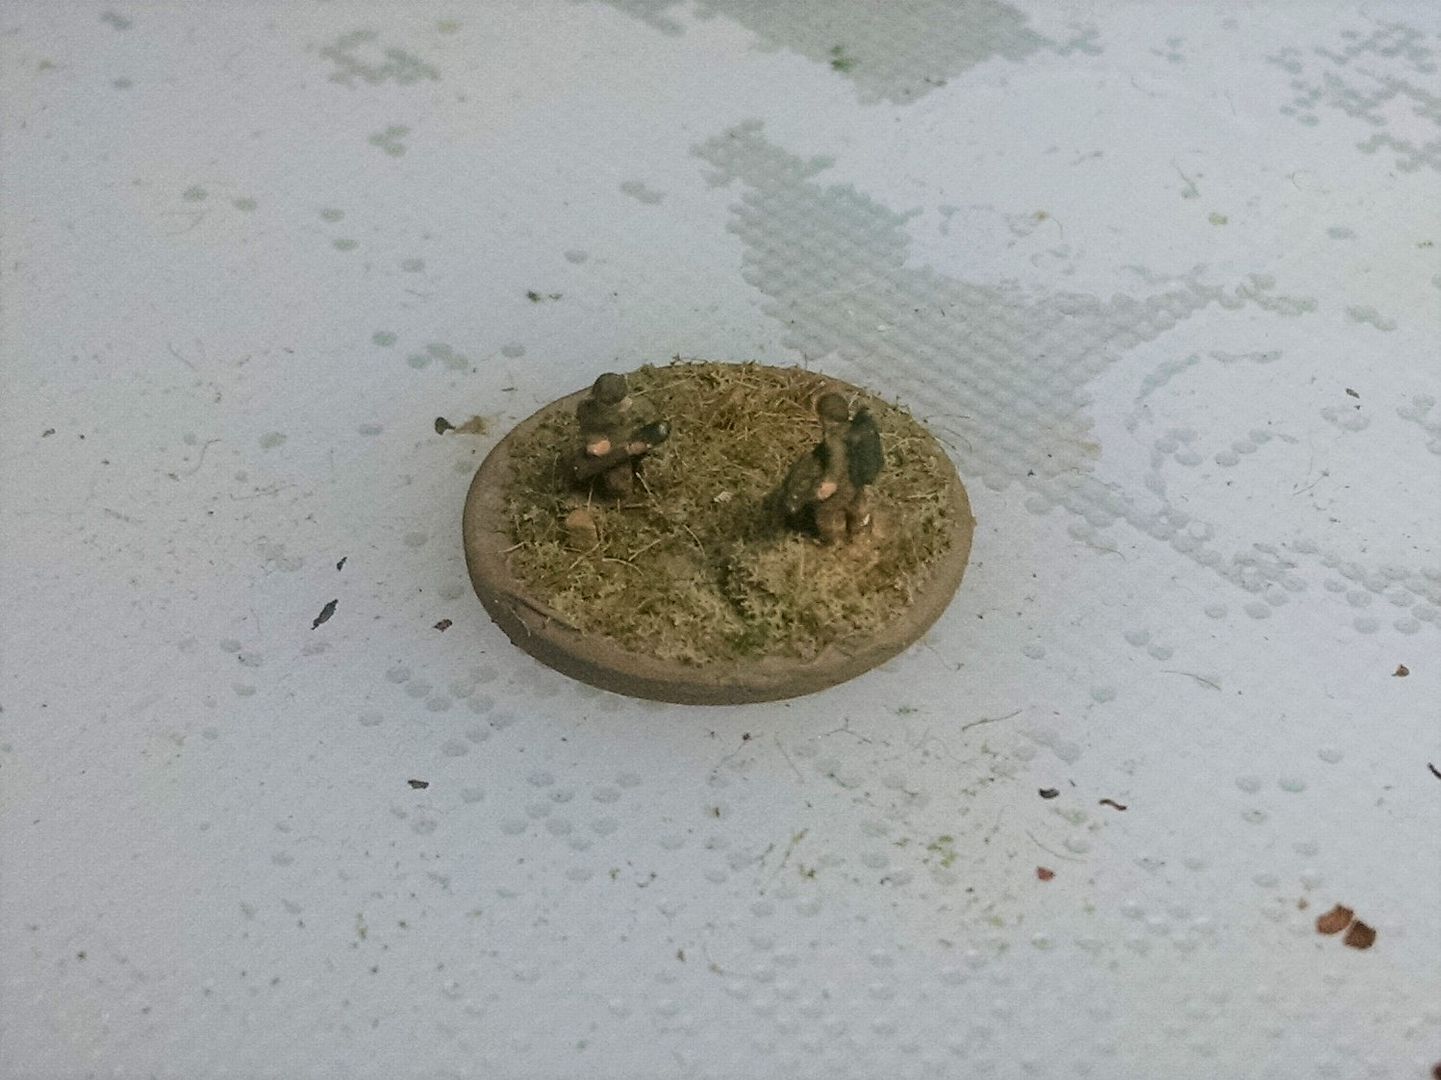
The packs also contain troopers with flamethrowers. I have 3 flamethrower teams in my force. These can be used as part of the combat engineering platoon, or as was done in later war ETO they can be issued to the regular infantry if the mission involves an assault on prepared defenses.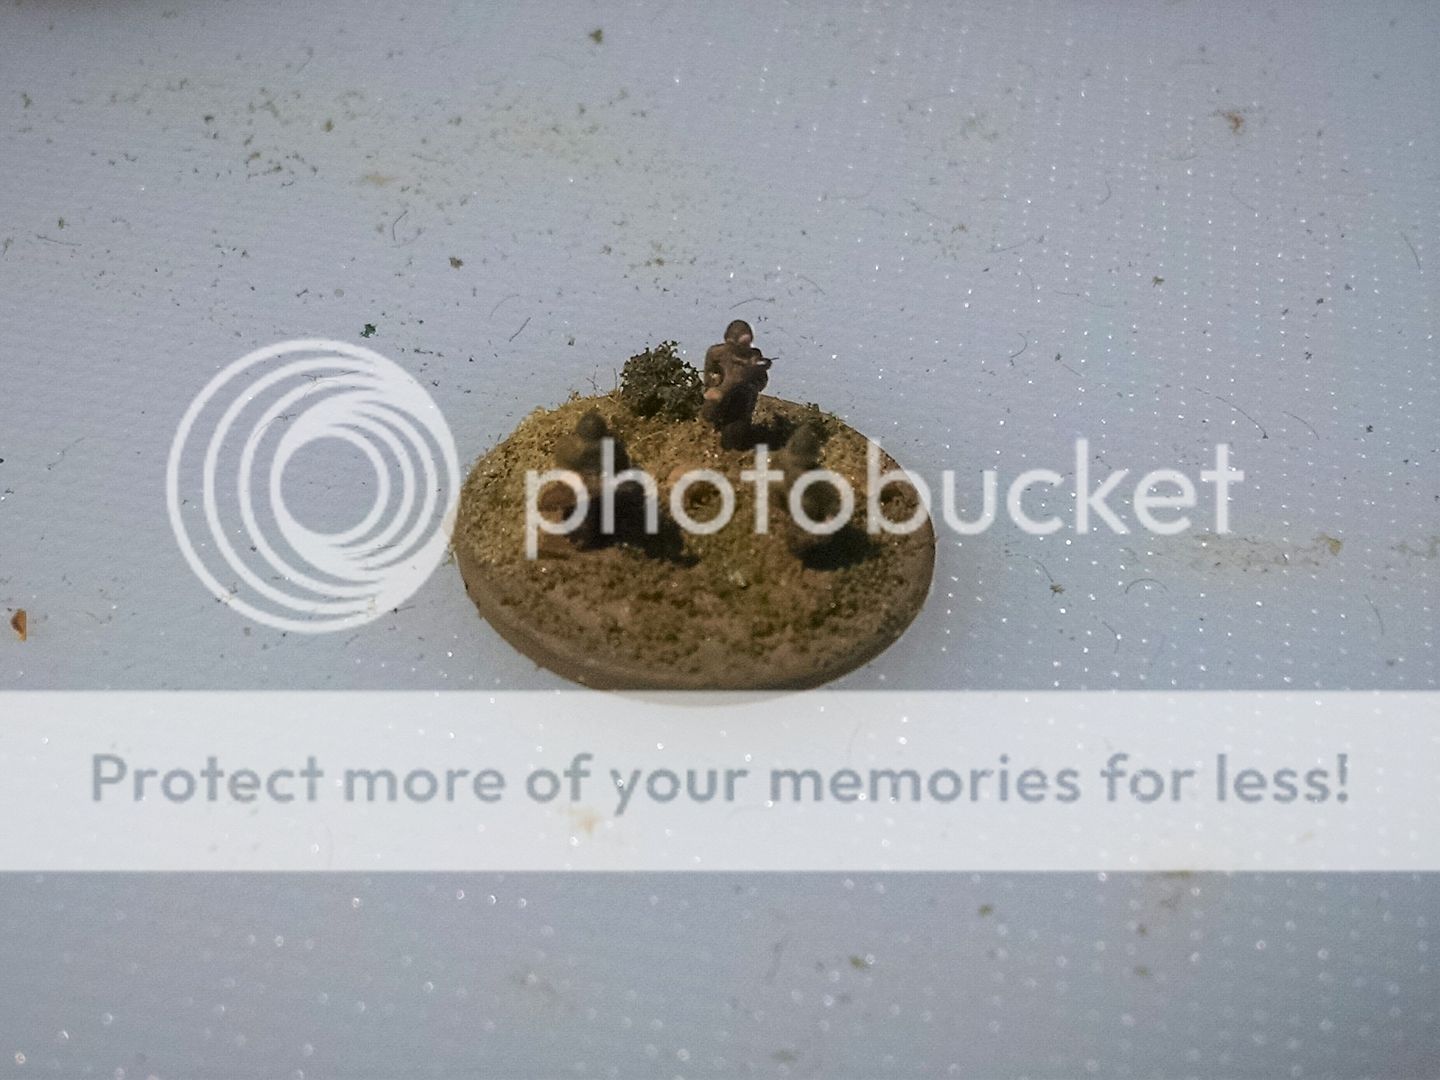
The bulk of the engineering platoon is 3 man special purpose squads, and a 2 man command team.
The basic engineering squad is comprised of rifleman figures and guys carrying ammo boxes, whom I use as engineers with satchel charges or other engineering stores.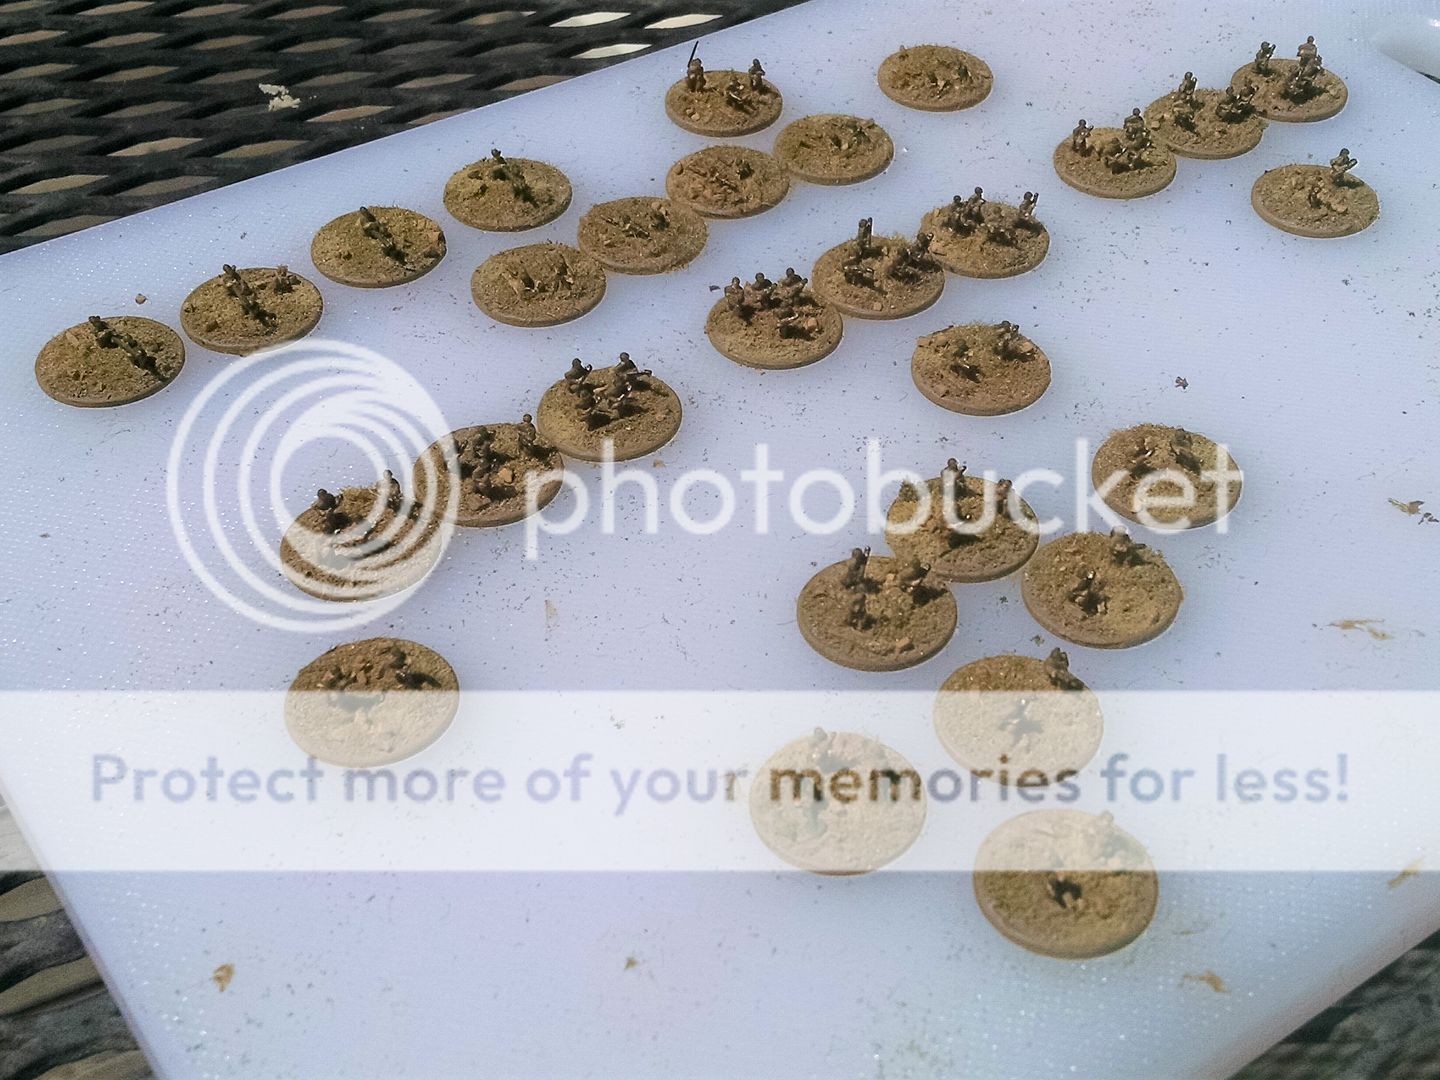
Here we see the whole core formation. There is a full company of infantry with three platoons, each of 3 squads and a command team. There is a company weapons platoon with MGs, mortars and bazookas with a command team, and a company HQ squad, and a platoon of combat engineers available for attaching if/when appropriate.
Now I'm ready to go against my French North Africans (for Torch), or my Italians (for Tunisia or Sicily), or any Germans who happen onto a battleboard in my neighborhood.
-Mark
(aka: Mk 1)
- Greg Mc likes this
_________________
Mark 1
Mark 1
#55
healey36
-
- Members
-
- 744 posts
Lt Colonel
- LocationMaryland USA
Posted 18 May 2019 - 06:58 AM
Brilliant stuff Mark, thanks for that! Makes my H&R's look a bit sick:

I agree, H&R figures are the most robust of those offered. I have a few blisters of GHQ and CinC figures, and those look a bit spindly.
Taking the time to paint faces and hands, with a bit of variation in paint for helmets, equipment, etc., makes a huge difference. If the eyesight allows, I should go back and rework mine.
Healey
#56
Cpt M
-

- ODGW Retired Staff
-

- 939 posts
Colonel
Posted 18 May 2019 - 06:01 PM
Nice work, Mark! I too really like the H&R packs. The mix of weapons and gear makes it easy to recreate all those specialized stands you need. A lot better than using generic figures.
#57
healey36
-
- Members
-
- 744 posts
Lt Colonel
- LocationMaryland USA
Posted 10 July 2019 - 05:59 AM
I went back and finally dealt with adding the bogey that hangs over every WWI miniature fleet collection - HMS Dreadnought. Most Historians argue that her design and construction fundamentally changed naval architecture and tactics for all time (at least during the brief era of engagement by iron ships contesting by gunnery). I would argue that the development of ever-improving fire-control methods was equally important, if not more so. Can one go without the outer? Probably not, but no doubt Dreadnought bent the curve in the years leading up to the WWI.
One is struck by the copious amount of open deck in her design, a feature of her wide beam amidships which provided the necessary stability to make her a suitable all big-gun firing platform. Her one glaring flaw was the positioning of her primary fire-control platform over and slightly behind her forward funnel. One wonders how often the controllers had their vision obscured by smoke at the critical moment. It will be interesting to see how she fares on the table.
So here's to Dreadnought:

1/2400 3-D print by War Times Journal on an ODGW etched base. Model Master enamel 36118 Gunship Gray, Tamiya acrylic XF-59 Desert Yellow, Vallejo model wash 76.518 Black, and Vallejo acrylic 70820 off-white.
#58
healey36
-
- Members
-
- 744 posts
Lt Colonel
- LocationMaryland USA
Posted 13 July 2019 - 07:32 AM
USS Baltimore (SSN-704), a Los Angeles-class attack submarine painted and based by my good friend Matt Schreck:

GHQ on a Litko custom-sized base. Baltimore was retired in 1998, far short of her expected service life, and remains in storage awaiting her turn in the scrapyard at Bremerton.
#59
healey36
-
- Members
-
- 744 posts
Lt Colonel
- LocationMaryland USA
Posted 29 July 2019 - 08:54 AM
I received a throw-down from a mate who wants to give GQIII a go, choosing the Pacific theater at 1/2400-scale. He's loaded up with IJN DDs and cruisers, so I need to put something comparable together. A search of the lead pile found little, just a half-dozen USN DDs and a single BB.
The DDs are a mixed bag...a pair of Benham-class (GHQ) and four Mahan-class (Viking Forge). The Benhams were in a partial blister I picked up somewhere, labeled as Craven-class. The castings sport just a pair of four-tube torpedo mounts, one on either side behind the single funnel. The Craven subclass actually had four four-tube torpedo mounts, two each side, totaling sixteen tubes.
The GHQ castings are in rough shape, having been tumbling around in someone's bit-box for an indeterminable length of time. One has both of the aft turret gun barrels gone or hanging...I contemplated trying to replace them with a bit of stretched sprue, but that was just going to be too fiddly. Also, my luck with painted stretched sprue is poor...it seems to get quite brittle after taking paint. I figured no one will notice from a couple feet away anyway, although it will bug me.
The Benham castings included a mainmast that was shorter than the funnel...it's not broken, that's just the way they were sculpted. Other than indicating where the mast should be, it's pretty useless. I removed it and replaced it with a half-inch of steel guitar string. Drilled a hole, a spot of Loctite GO2, and there's something slightly more representative of the mainmast. The ships had a very short mast aft which GHQ included and I left as is.
Then you enter the world of USN camo schemes, or Measures as they called them. Some are relatively simple, some are very complex. I have found Clash of Arms "Painter's Guide to World War Two Naval Camouflage" handy...it offers a good sampling of various schemes for most WWII navies, although the drawings are in black and white. There are a number of online sources as well, which include color samples. Around 1942 the USN began using a "sea-blue" as the base color for most of their schemes, moving away from the various grays of the prewar era. Legend has it the change came after receiving input from Navy fliers.
Finding a representative color has become increasingly difficult as the ModelMaster offerings have diminished (one of the great disasters for military modelers). A trip to the craft store provided a can of Testors blue enamel which looked do-able...a bit too bright, but then I figured a black ink wash would tone it down nicely...meh, not so much. I ended up giving it a dry-brush using Tamiya XF-8 flat blue. I could have mixed something and used the airbrush, but that is just painful unless you have a couple dozen to paint, and I don't.
So we assigned pennant number DD-407, USS Sterett (Andrew Sterett was a native of Baltimore, so it felt right giving a local boy the nod). Laid down in 1936, she survived the war while having fought her way through numerous actions. Notably she served as a radar-picket off Okinawa, taking a kamikaze hit in her starboard side on April 1, 1945. We went with Measure-21, an overall sea-blue, decks slightly darker than vertical surfaces.
So here's USS Sterett:

GHQ, 1/2400, ODGW etched base trimmed down to 2-1/2 inches. The camera reveals all of the flaws, lol...color still seems too light and missing a couple 5-inch gun tubes.
Moving on...
Healey
#60
healey36
-
- Members
-
- 744 posts
Lt Colonel
- LocationMaryland USA
Posted 22 September 2019 - 04:35 PM
Viking Forge 1/2400 USS San Francisco:

Added a couple of guitar-string masts. Not the best model...turrets are out of scale (too big) and the stern looks short by about 20 scale feet (or maybe it just looks that way because the turret is so oversized). Cut the catapults down, probably too low. Needed a couple of hanger cranes, but I didn't have any in the bit box.
Healey


0 user(s) are reading this topic
0 members, 0 guests, 0 anonymous users

