Jump to content


Photo

HMS Indefatigable Build Log


  • Please log in to reply
9 replies to this topic

#1 schoon

schoon

    Corporal

  • Members
  • 51 posts

Posted 20 March 2022 - 08:48 PM

Fellow Captains,


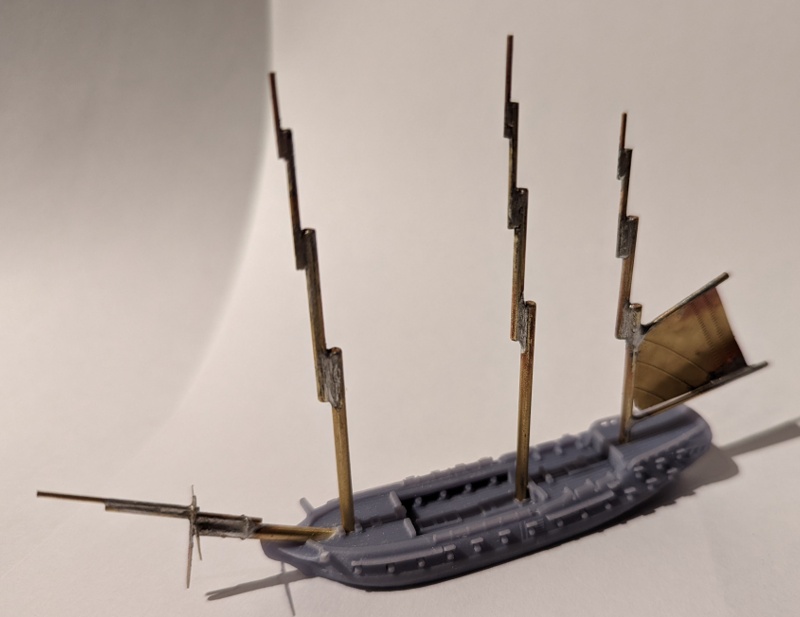
I wanted to try something that would force some learning for my build, so I opted for soldered brass on the masts & bowsprit. It's been decades since I used a soldering iron, and doing the masts this way sounded like a good opportunity to re-learn the skill.


So I did the bowsprit as an experiment today. It's FAR from perfect, but all things considered, I'm pretty happy with it.


gallery_8549_83_71116.jpeg


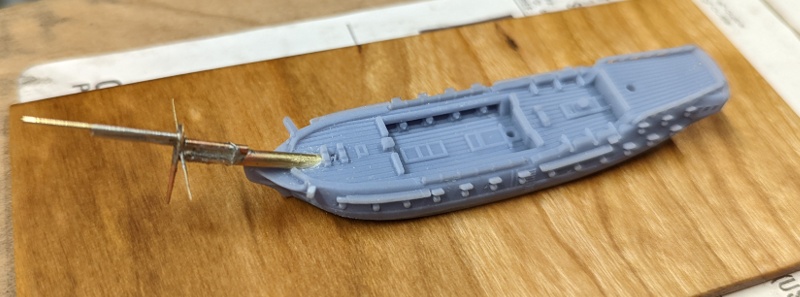
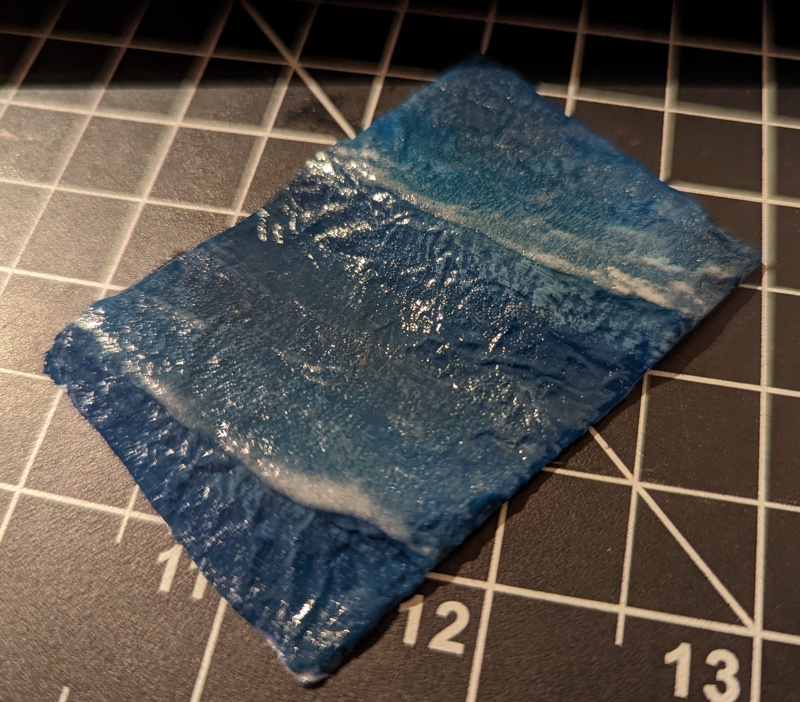
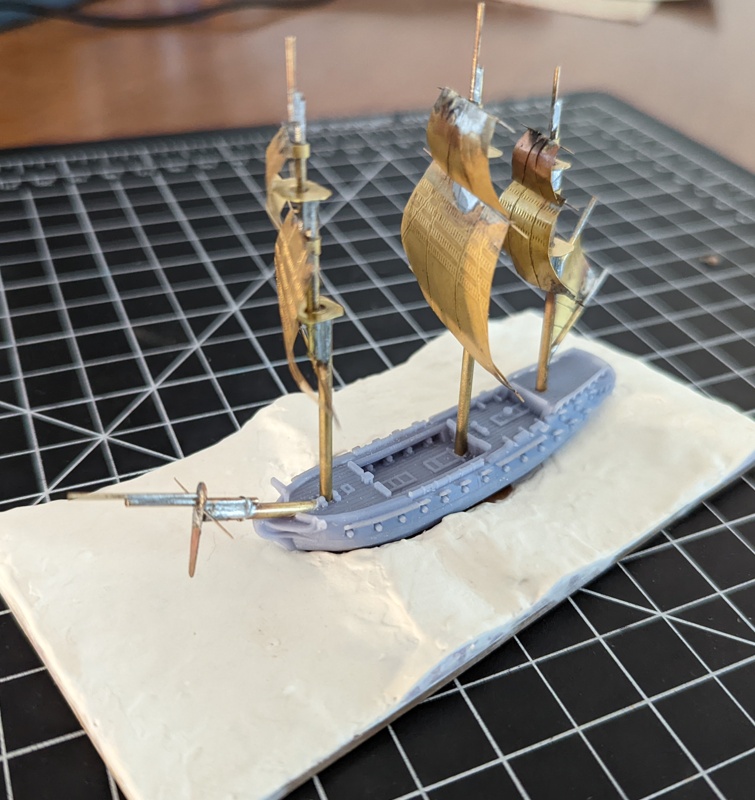
The picture is taken on the 1/8 inch hardwood base that I'll be modeling the water on.


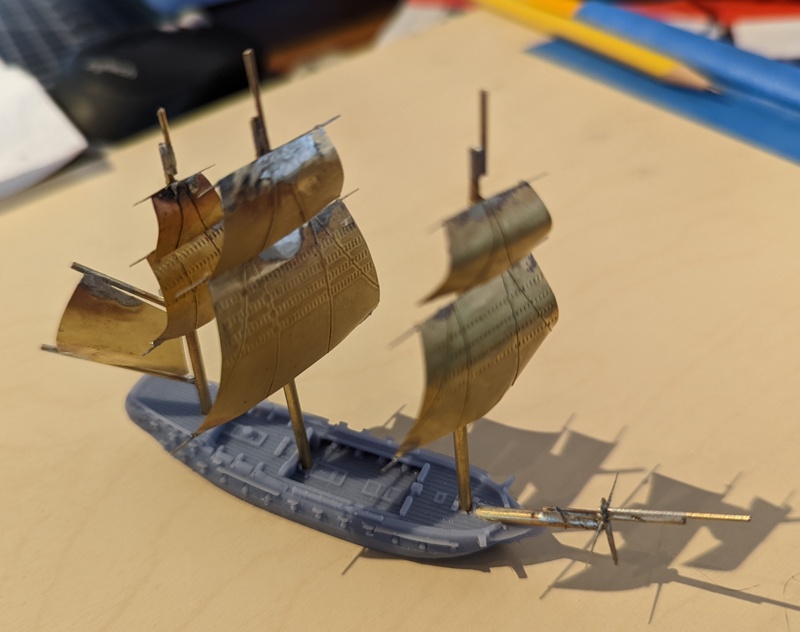
Next comes the masts...


#2 ProfGRP

ProfGRP

    Private

  • Members
  • 15 posts
  • LocationWaco, TX

Posted 22 March 2022 - 10:53 AM

Sean, that's very nice. I will probably try the same thing in wood.


Who is the manufacturer of the model?


Jerry


#3 schoon

schoon

    Corporal

  • Members
  • 51 posts

Posted 22 March 2022 - 02:34 PM

It's from Henry Turner's collection of 3D files: https://www.wargamin...44-gun-frigate/


I heartily recommend anything by him or Simon Mann.


  • ProfGRP likes this

#4 schoon

schoon

    Corporal

  • Members
  • 51 posts

Posted 29 March 2022 - 11:54 PM

Had a little time over the weekend and got all the masts done.


Next the yardarms and sails...


I'll have to take them out again to paint the hull though.


gallery_8549_83_9982.jpeg


#5 healey36

healey36

    Lt Colonel

  • Members
  • 737 posts
  • LocationMaryland USA

Posted 31 March 2022 - 09:02 AM

Nice, neat solder-work. Good progress.


#6 schoon

schoon

    Corporal

  • Members
  • 51 posts

Posted 03 April 2022 - 09:20 PM

Not wanting to "ruin" my model with the first sea base that I've ever tried, I decided to do a test base on a piece of scrap styrene.


gallery_8549_83_196231.jpeg


The short version of the process:

  1. Sculpt a basic swell pattern with wall spackle - let dry
  2. Lay down a layer of PVA and put crinkled foil down on top - let dry
  3. Paint a layer of "thick paint" consistency PVA/spackle mix on top - let dry
  4. Airbrush with blues and green
  5. Add foam with Modge Podge mixed with sandblasting powder (essentially tiny glass beads) - more drying
  6. Add one more layer of Modge Podge on top

LOTS of learning involved, and will do a couple minor things differently.


This is the version I've just sculpted on the real base. I put a piece of cling wrap down and pressed the ship into it at the right angle.


gallery_8549_83_37330.jpeg


#7 schoon

schoon

    Corporal

  • Members
  • 51 posts

Posted 18 April 2022 - 02:38 PM

Made some progress over the last weekend. All the sails are now attached.


gallery_8549_83_28643.jpeg


The masts are at odd angles right now because I still need to take them out to paint the hull...


#8 ProfGRP

ProfGRP

    Private

  • Members
  • 15 posts
  • LocationWaco, TX

Posted 23 April 2022 - 11:59 AM

Sean, are the sails photo-etched? Really nice work.


Jerry


#9 schoon

schoon

    Corporal

  • Members
  • 51 posts

Posted 25 April 2022 - 11:36 AM

Yes, Meridian makes a very nice line of photo-etched brass sails for 1:700 models.


#10 schoon

schoon

    Corporal

  • Members
  • 51 posts

Posted 05 May 2022 - 02:41 PM

Sitting on it's base before I take everything apart for painting...


gallery_8549_83_30790.jpeg


I made the bigger swells out of insulation foam, and then made the "sea" with a mixture of spackle and PVA glue.


  • ProfGRP likes this


0 user(s) are reading this topic

0 members, 0 guests, 0 anonymous users