This last Saturday, May 18th, I attended Sand Wars in Mesa, AZ. I ran my Mein Panzer Cruisin' for a Bruisin' game. I had 2 players signed up for the game but unfortunately, one of them could not make it due to unforeseen circumstances. I them went from my role of hosting to becoming an active participant but that would not be the first time.
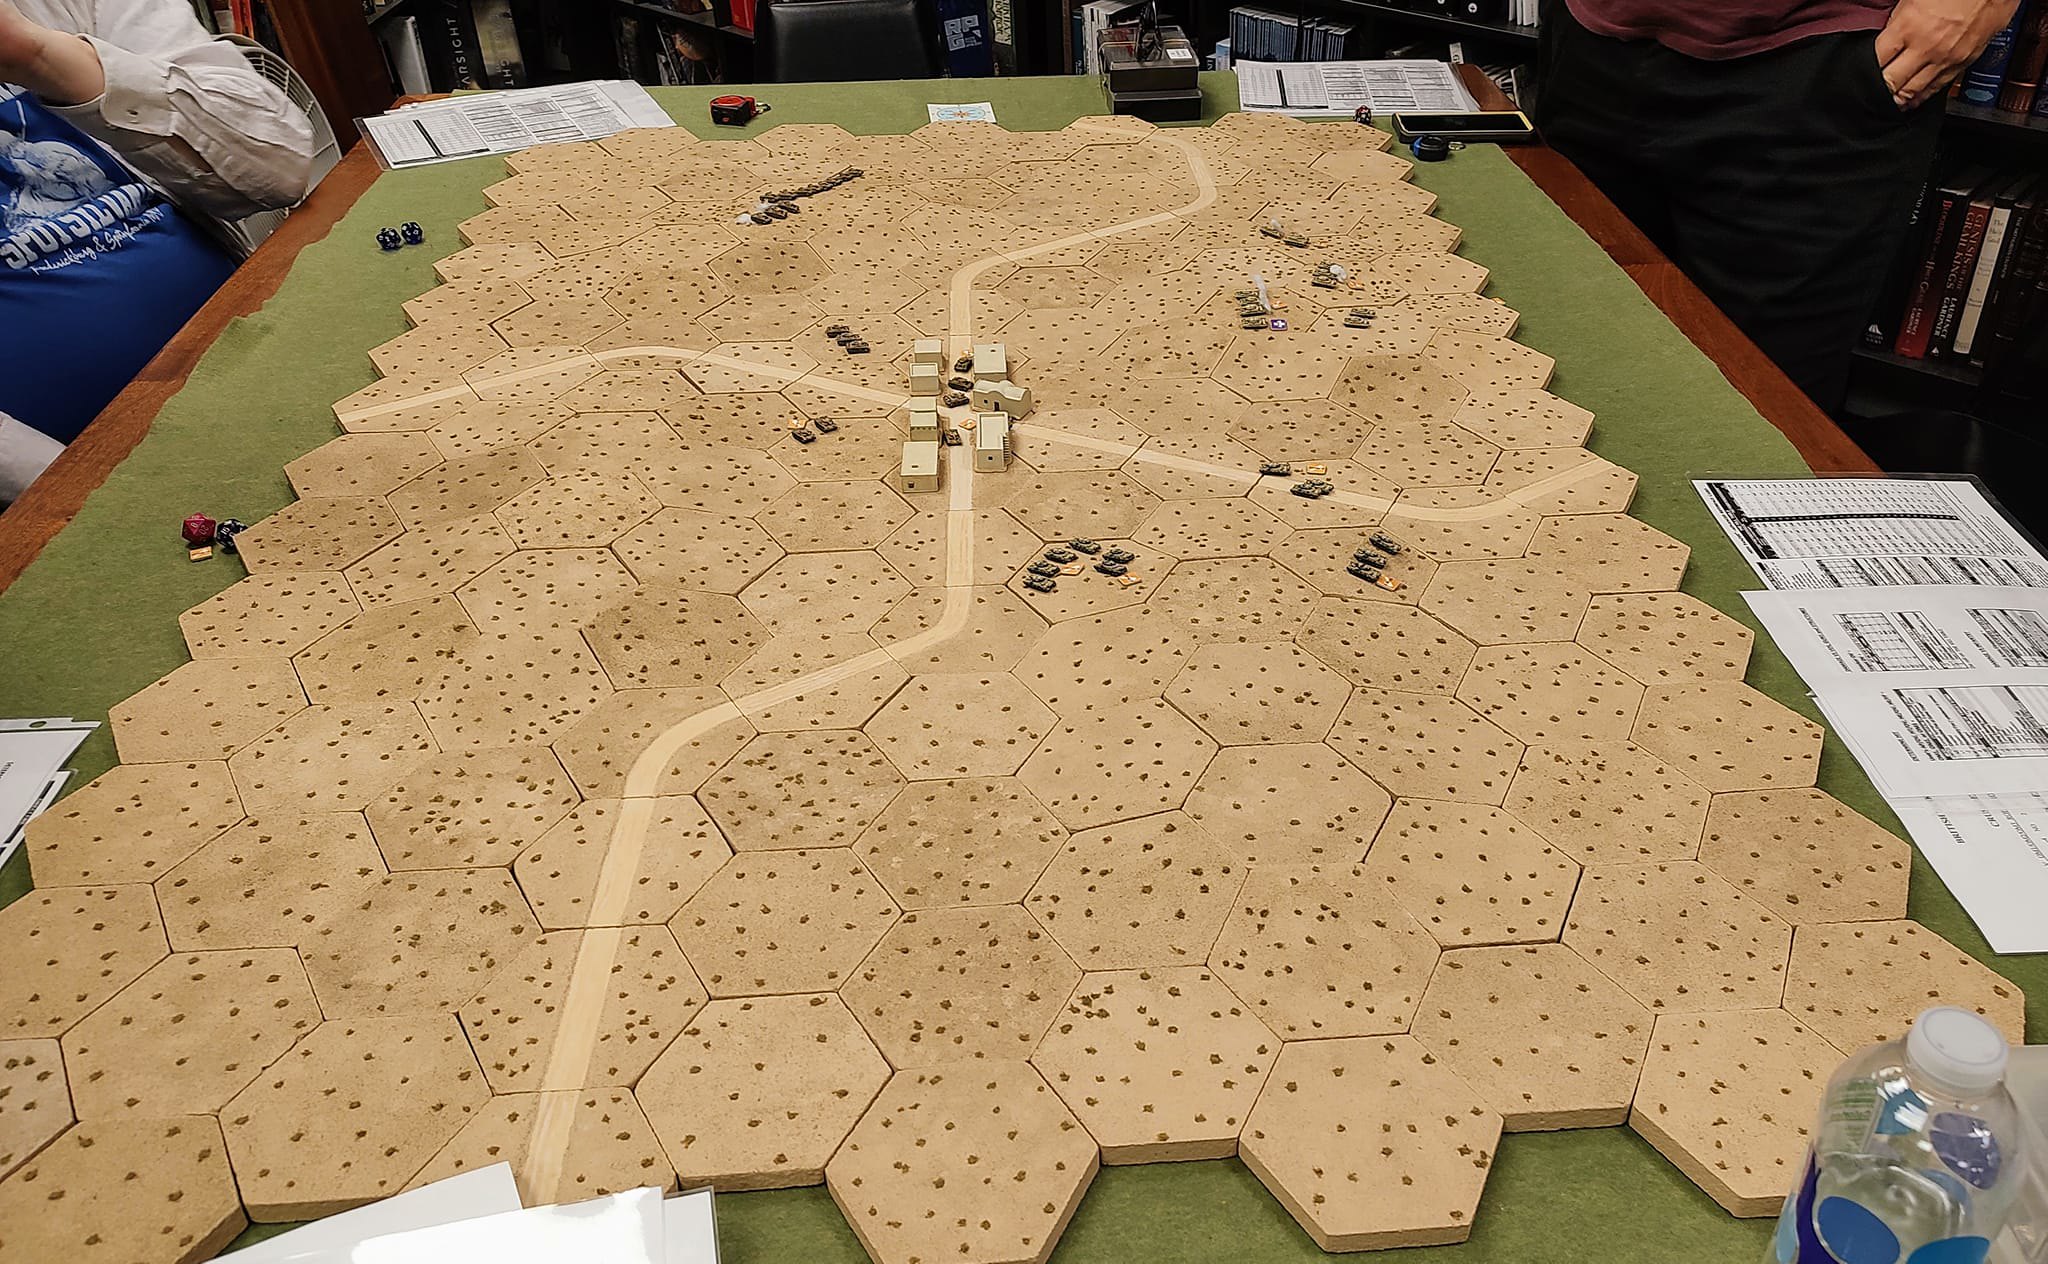
My opponent, Mike P., came out all the way from California to play in my game and he had never played Mein Panzer before. After getting everything set up and giving him the rules briefing we were ready to go. I designed this scenario to be fairly simple and reach a decent conclusion in 6 to 8 turns of play. The scenario is set in North Africa in the middle of 1942 so I kept the terrain fairly simple with a crossroads in the center and 4 roads leading to it in the middle of a small village.
In this game, there were also 4 low hills that could be used to get some cover and defilade so that the map was not completely flat.
Mike selected the British forces with a slightly understrength squadron of 12 Crusader IIs comprising 1 troop of 4, 2 troops of 3, and the HQ element consisting of the CO and the 2IC.
I had the Germans with an understrength Panzer III company of 10 tanks consisting of 3 platoons of 3 Panzer IIIs each plus a HQ element consisting of the CO. The Germans had 7 Panzer IIIJ1s and 3 Panzer IIIJ2s (Specials) distributed 1 per platoon.
The nice thing is that the stats for the British and Germans in this case are very similar. Both the Panzer IIIs and Crusader IIs have the same frontal armor, same AP values, same cross country and road speeds. The British have a slight numerical advantage for the scenario. The Crusader II also has slightly better OM1 and OM2 values than the Panzer IIIJ1 but the Panzer IIIJ2 is slightly better than the Crusader II in that area and also with a slightly better AP value.
For the game, I made both sides "Regular" which gave the Germans a TQ of 12 and the British a TQ of 11. This is slightly better than 50% but usually the various to hit modifiers will pull that number down a bit at average to long range.
For the victory conditions, control of the crossroads was worth a lot of points but there were also potential points for controlling the hills on the opposite side and of course for knocking out and brewing up enemy tanks. I scored brew-ups as double the regular points for knocked out tanks and a CO tank knocked out as triple value and quadruple if brewed up.
The game lasted 6 turns with both of us heading toward the crossroads but I also tried to keep one platoon on the hill to provide some covering fire. Mike won the initiative the first 5 of 6 turns. My luck in hitting was a bit better than his luck but I did seem to have a lot of misfire rolls. Must be those d... saboteurs! I only had to look up one thing in the rule book about Reaction Fire when one of my tanks came within 2 inches of one of Mike's tanks in the town. Otherwise the game played very smoothly and Mike grasped the basics very quickly and played very well.
After 6 turns, we called the game. No one controlled the crossroads or the opposite hills. I won on points but both of us had a great time and Mike says he will be back. That is definitely a win in my book regardless of who won the game.
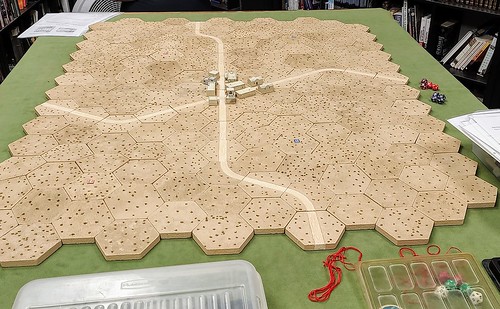
Here are a few pictures of the game.

Here is the set-up before the action began.

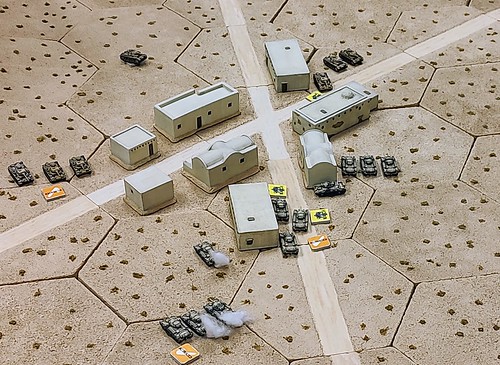
Here is a close-up of the village with the crossroads on the left side.

Another view from ground level.

This shows the board at the end of the game.

Showing the British side at the end of the game.

A view from the German side. One platoon plus the HQ are heading directly for the crossroads while one platoon is coming from the left flank and the third one on the right is providing covering fire.

Close-up showing the third platoon on the German right.

The German platoon flanking the village from the left. As you can see, one of the tanks has a misfire. This was a problem for me during the game. Fortunately, most were dud rounds and I did not lose any tanks due to the dreaded 20-20 roll.