Scenario 1 - Hide and Seek (Continued)
The Tale of the East Patrol
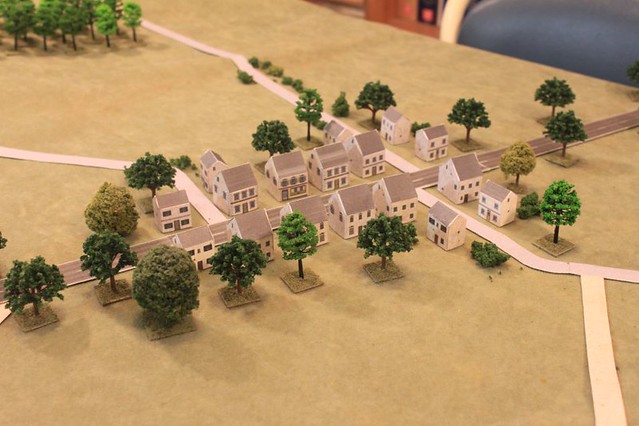
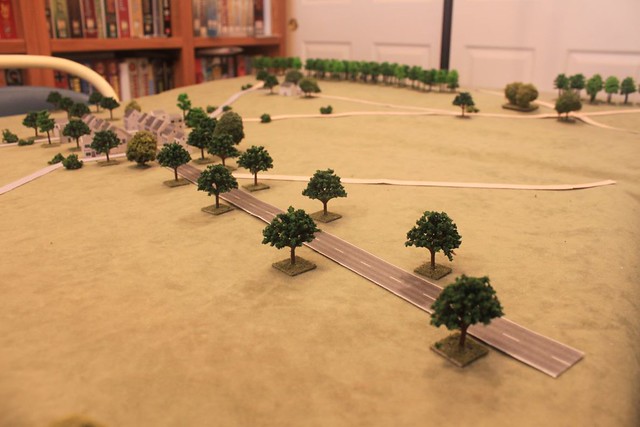
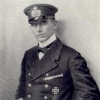
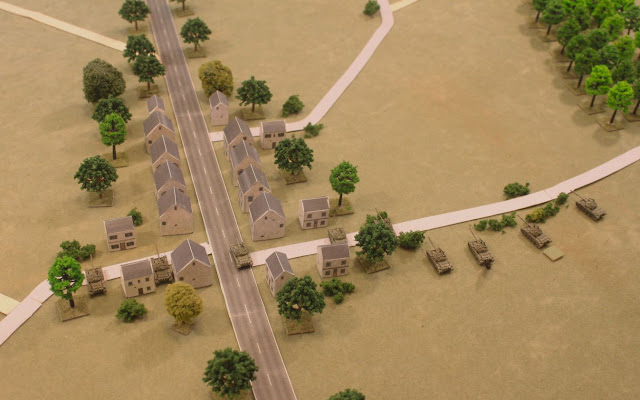
The east patrol enters and like the west patrol skirts the tree lines as they advance:
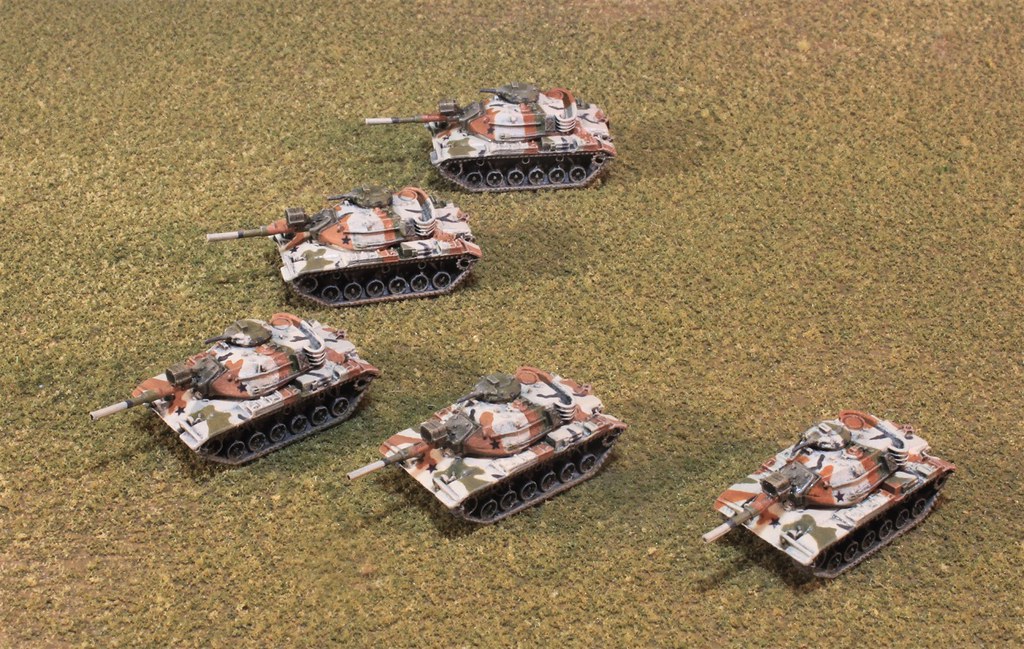
Working razvedchiki, vehicle and dismount team:
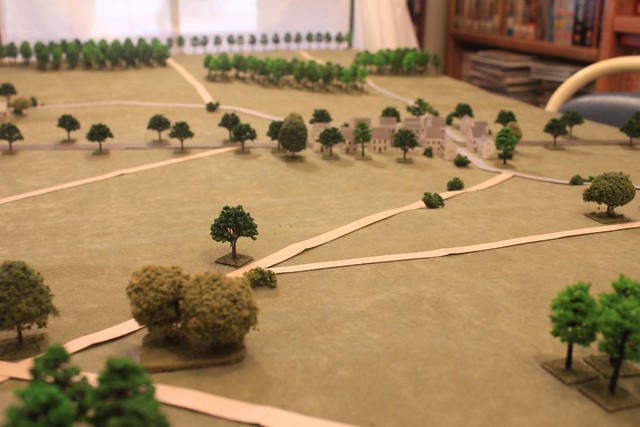
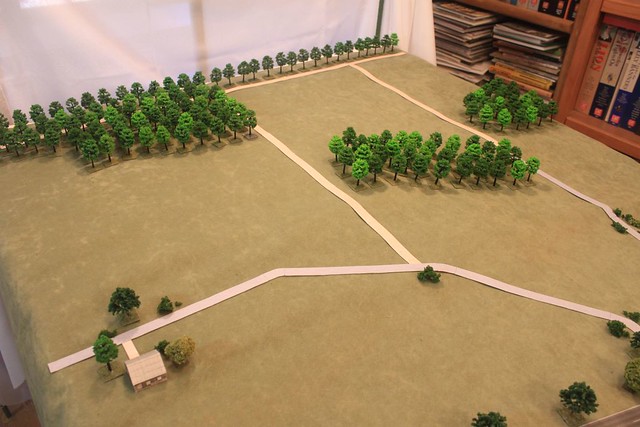
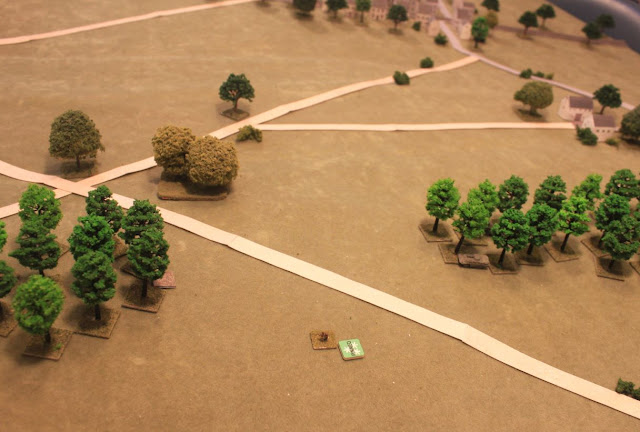
The east patrol clears a dummy counter and then comes up to the end of the tree stand. By this time they have heard the fire of the US tank and the reports of contact and the loss of one of their comrades. Caution is very much the order of the moment.
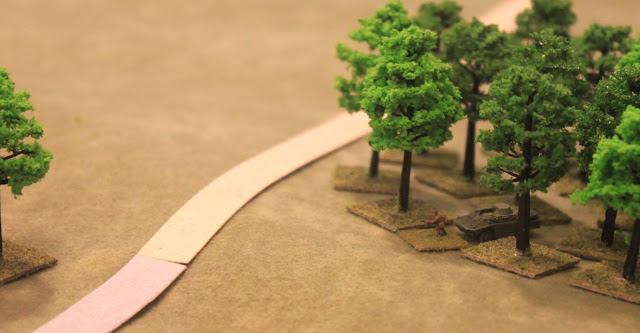
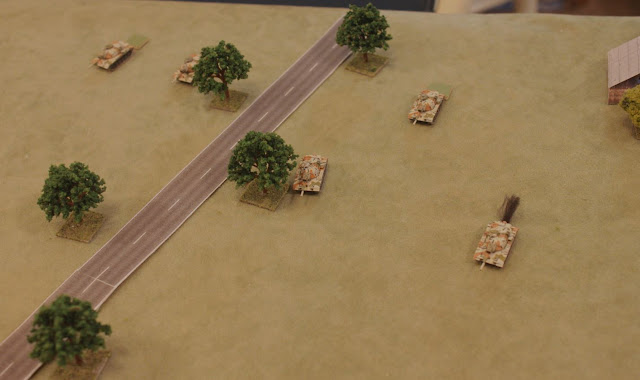
A dismount team is sent across the open space to check out the small copse. Undetected by the US the team finds the copse to be empty of US forces:
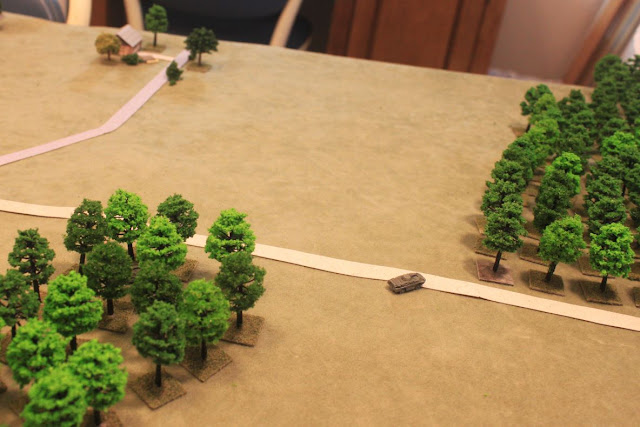
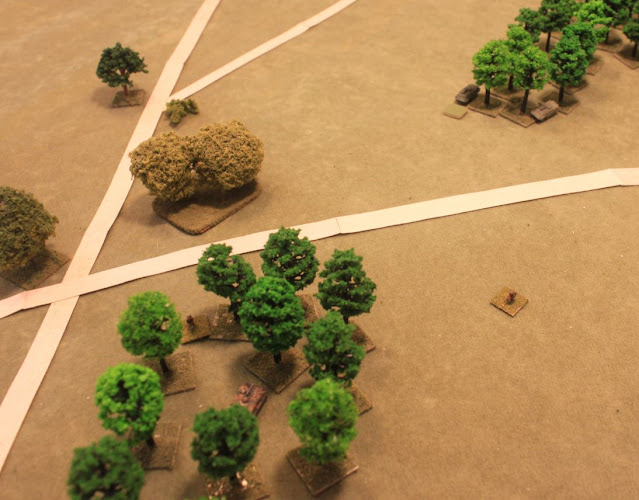
It is fairly certain to the Soviets that the hidden marker on the tree line is an actual American unit, but attempts to spot it have been failures. Getting closer would help. The second dismount team is sent across the open terrain, angling to the left. The American spot this move and fire on the Soviet team, pinning it:
The Soviets put fire into the woods and both Soviet dismount teams begin to maneuver, working to the American's flanks:
The American ground team falls back to the waiting M113, boards and the APC withdraws to the south and off the table. The contact is reported by both sides. The American now know that their positions are being heavily probed, a harbinger of a likely Soviet move through the Jossa area.
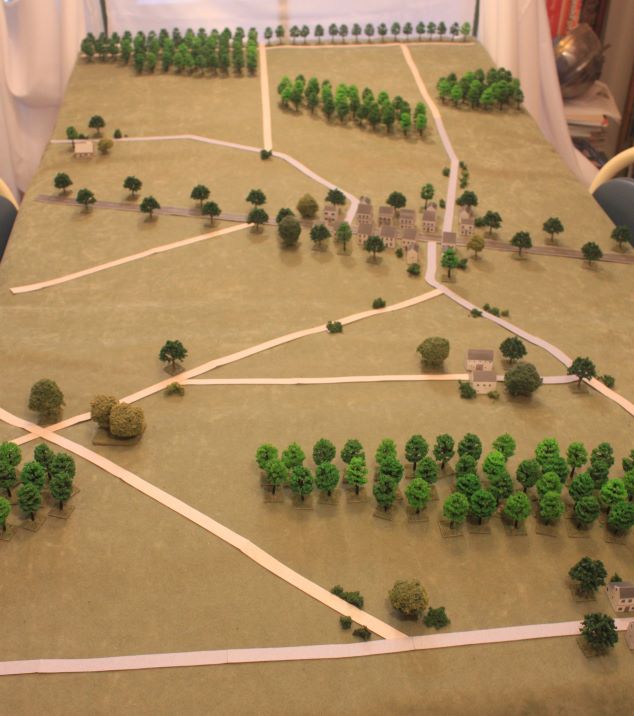
The Soviet patrol presses on, searching for the American main line of resistance:
The game ends.
Results
The US mission was to screen the approaches leading to the south from the village of Jossa, identifying the presence and composition of enemy forces moving through their position and to engage enemy forces to attrit and delay their advance. With the exception of delay, the Americans accomplished their mission.
The Soviet mission was to recon south though the Jossa area, identifying enemy forces present while remaining undetected and to penetrate enemy positions as far as possible. The Soviets detected US forces in the Jossa area, but their own presence was revealed to the US. They did not spot the US M113 on the west ridge and did lose a BRDM They did continue moving south.
Assessed: Draw
Comments
In my experience screening and reconnaissance actions are not common game topics, so I was interested in trying one out. This type of game would be best with fully hidden movement mediated by an umpire so that the full tension and suspense of probing the unknown until contact is made could be realized. The next best solution is using markers to represent units until they are spotted using the game's spotting mechanics. Dummy markers also increase the uncertainty. A problem with using markers is the very process of resolving spotting attempts can reveal to players what is and isn't likely to be a real or a dummy unit.
The Mein Panzer rules have a good spotting mechanism. The only change to the rules I made was to allow non-moving reconnaissance troops to make 2 spotting attempts in an activation rather 1 to reflect their better training and experience in spotting.
As OGDW has only published an abbreviated 'teaser' listing of Cold War vehicles and equipment for the US and Soviets there were some gaps that needed filling in. For example, the 'teaser' charts do not have the BRDM 2. So data from other rule sets for the period were cobbled to fit the Mein Panzer data format.
I'm no expert on reconnaissance and cavalry unit tactics, so those who know about these things will probably find fault with how the forces were used in this game. Constructive criticism is invited.
While big tank actions may have more appeal I think this aspect of modern combat, the screening battle, has a lot of potential.