In prep for play-through's of MP I've been working on cleaning up a number of old terrain mods that we made close to thirty years ago. Some were in decent shape, some not so much. I've decided to make a few new ones to replace or update the old. While doing this I thought I'd document the process here. The plan here is to make a mod that features a low ridge or hill traversed by a road.
The base will be 1/4-inch non-tempered Masonite. In the old days we used tempered Masonite which is hardened and has some degree of moisture resistance. Finding tempered 1/4-inch Masonite today has been problematic, i.e. I can't find any. Plenty of 1/8-inch tempered, 1/4-inch notta. I'm concerned that applying spackling, glue, paint, etc. to non-tempered material might result in some serious warpage. This is an experiment...we'll see how it goes.
First step was to cut a 12-inch square base. In the old days I had access to a nice table saw which made short work of this exercise with a high degree of precision. Today we'll use a hand-saw, a bit more tedious but with care can be nearly as precise. Getting nearly exact square bases is important when it comes time to fit them together on the table...slight variations will lead to small gaps between the modules (most unsightly).
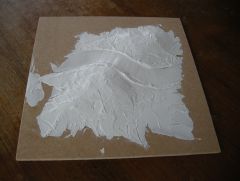
Next step is to slather on some plaster or spackling to form the ridge. I'm using DAP Vinyl Spackling...it comes in a small plastic can and costs less than four bucks for eight ounces. If you're going to make a bunch of these buy a bigger bucket...it has a fairly long shelf-life if you keep the lid on tight. Also you can add a bit of water to soup it up if you don't like the consistency. Ideally you should apply it in layers, letting it dry between each application, but since I want to form a road in the ridge I'm going all in with a single application. I use an old putty-knife to apply the spackling, smoothing and forming. After building up the ridge I use the knife to form the base of a road up-and-over, touching up the bank slightly as I go. When it's dry you can use some sandpaper to take off any edges you don't like and further smooth it up a bit. Being over an inch thick at the crest of the ridge it's going to take quite awhile to dry. We'll give it at least twenty-four hours and then check to see how much it has (1) dried, (2) cracked, if at all, and (3) warped the Masonite.
Pics after step Step 2 (waiting to dry):
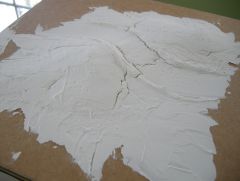
After forty-eight hours things are still a bit cool to the touch which leads me to believe it's not completely dry. Still, quite a few cracks have appeared in the pile, especially at the thickest areas (the downside of not being patient and applying the plaster in gradual layers):
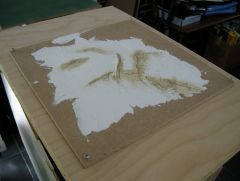
I'm going to let this dry a further twenty-four to forty-eight hours, but in the meantime I patched some of the cracks (probably prematurely) with a bit of Elmers ProBond wood-filler:
The good news is the warpage of the masonite seems to be minimal...I'm hoping that remains the case after another stretch of drying. Then we'll be ready to sand off the rough spots and give it a coat of paint/sealant.
In an effort to minimize warpage (if that's possible) I screwed the mod down onto a piece of 3/4-inch birch plywood:
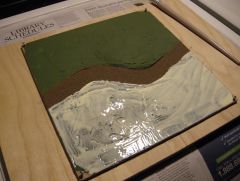
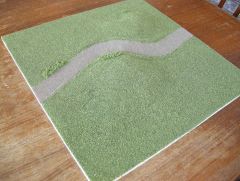
Once we've allowed it to completely dry, paint/sealed it, ballasted the roadway and flocked the rest of it we'll take it up and reassess the warpage. Hopefully it remains minimal to none.
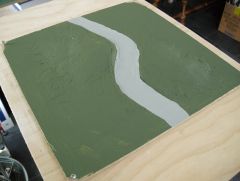
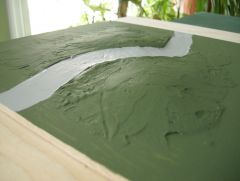
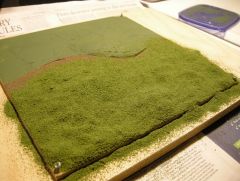
Another twenty-four hours of drying and we're moving on. I took some sandpaper and knocked down any weird bumps or edges, then vacuumed up the dust. Next step is to give it a base-coat of green and gray acrylic paint:
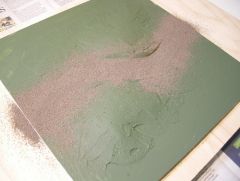
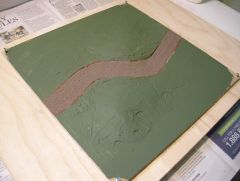
The gray is a bit light but it should work. I'll let this dry for eight hours or so and then ballast the road. Later I decided to repaint the road-base a burnt sienna...the gray seemed too light.
(continued next)
Healey


